Set Charging Station Map Widgets on Energy Dashboard
1
Video guide
2
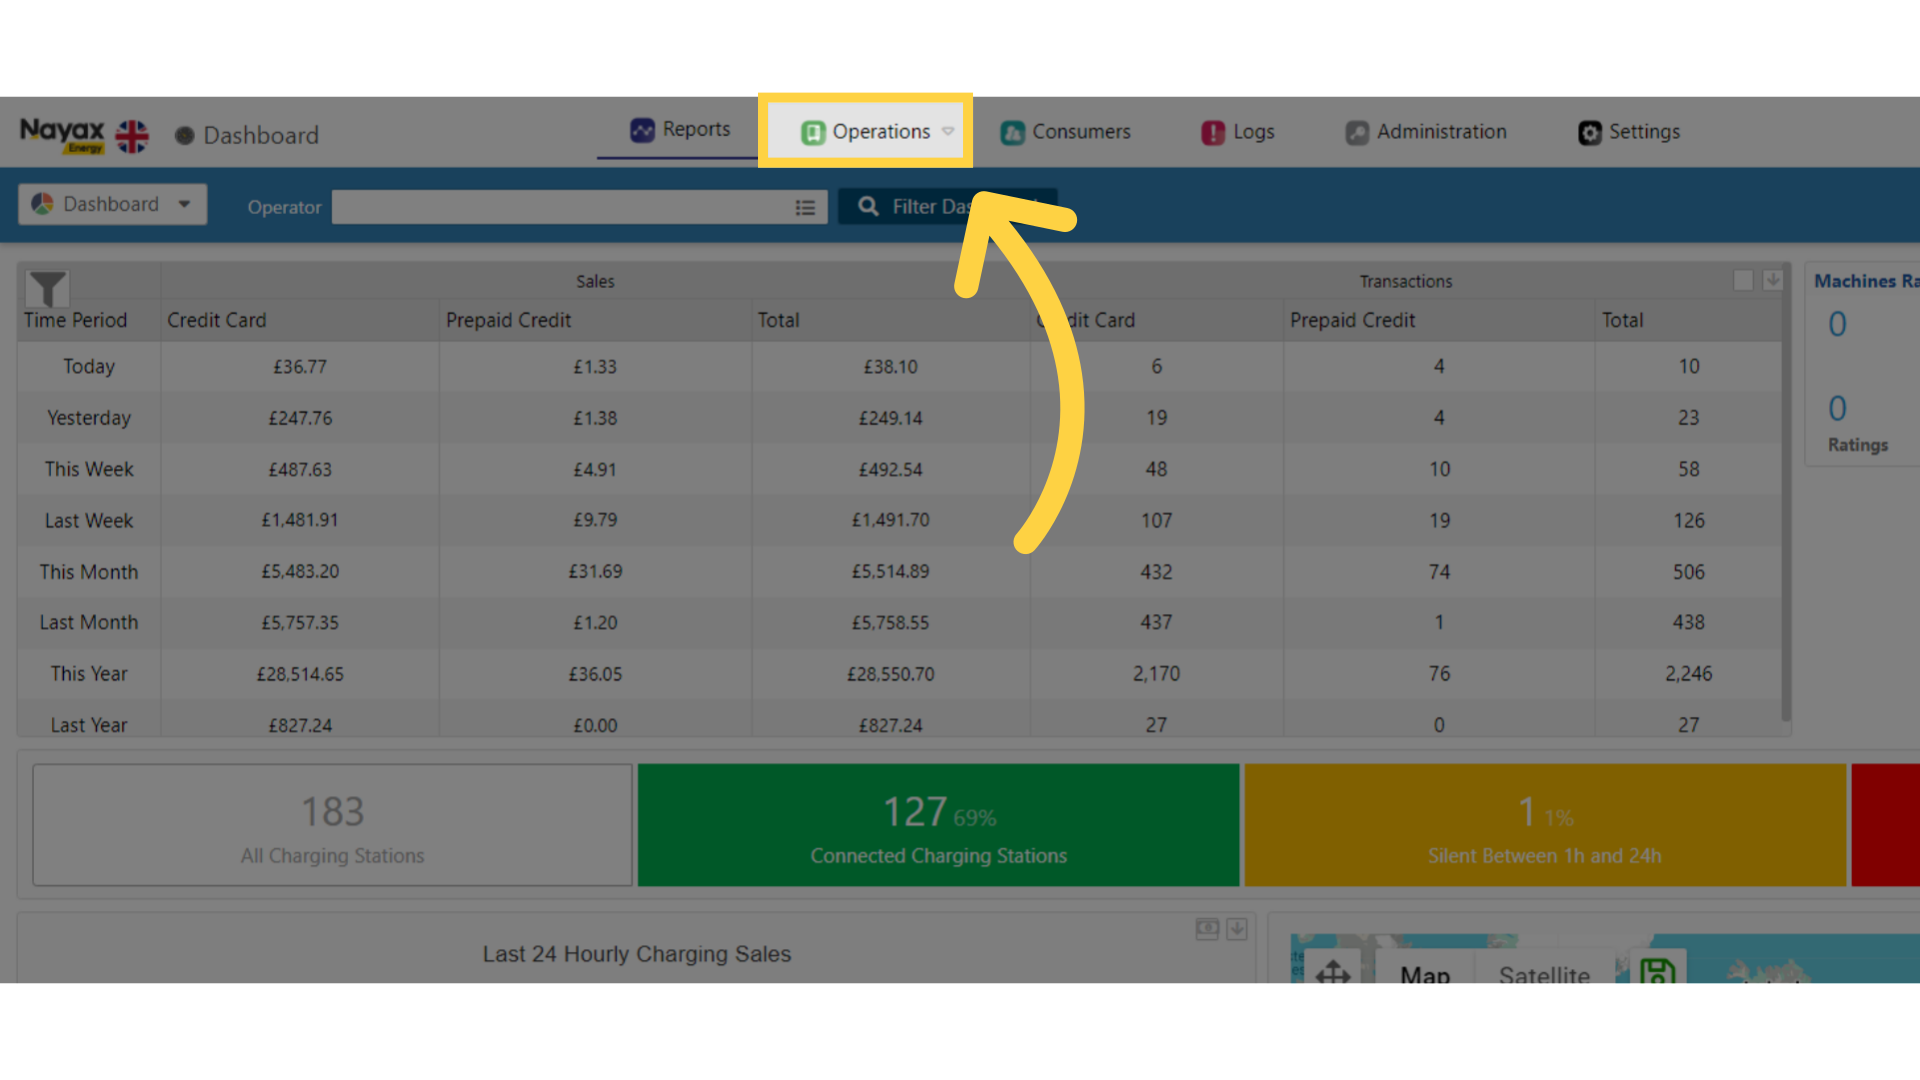
Click Operations
Image Attached
On the Dashboard of your Nayax Energy Core management suite click on the Operations tab.
3
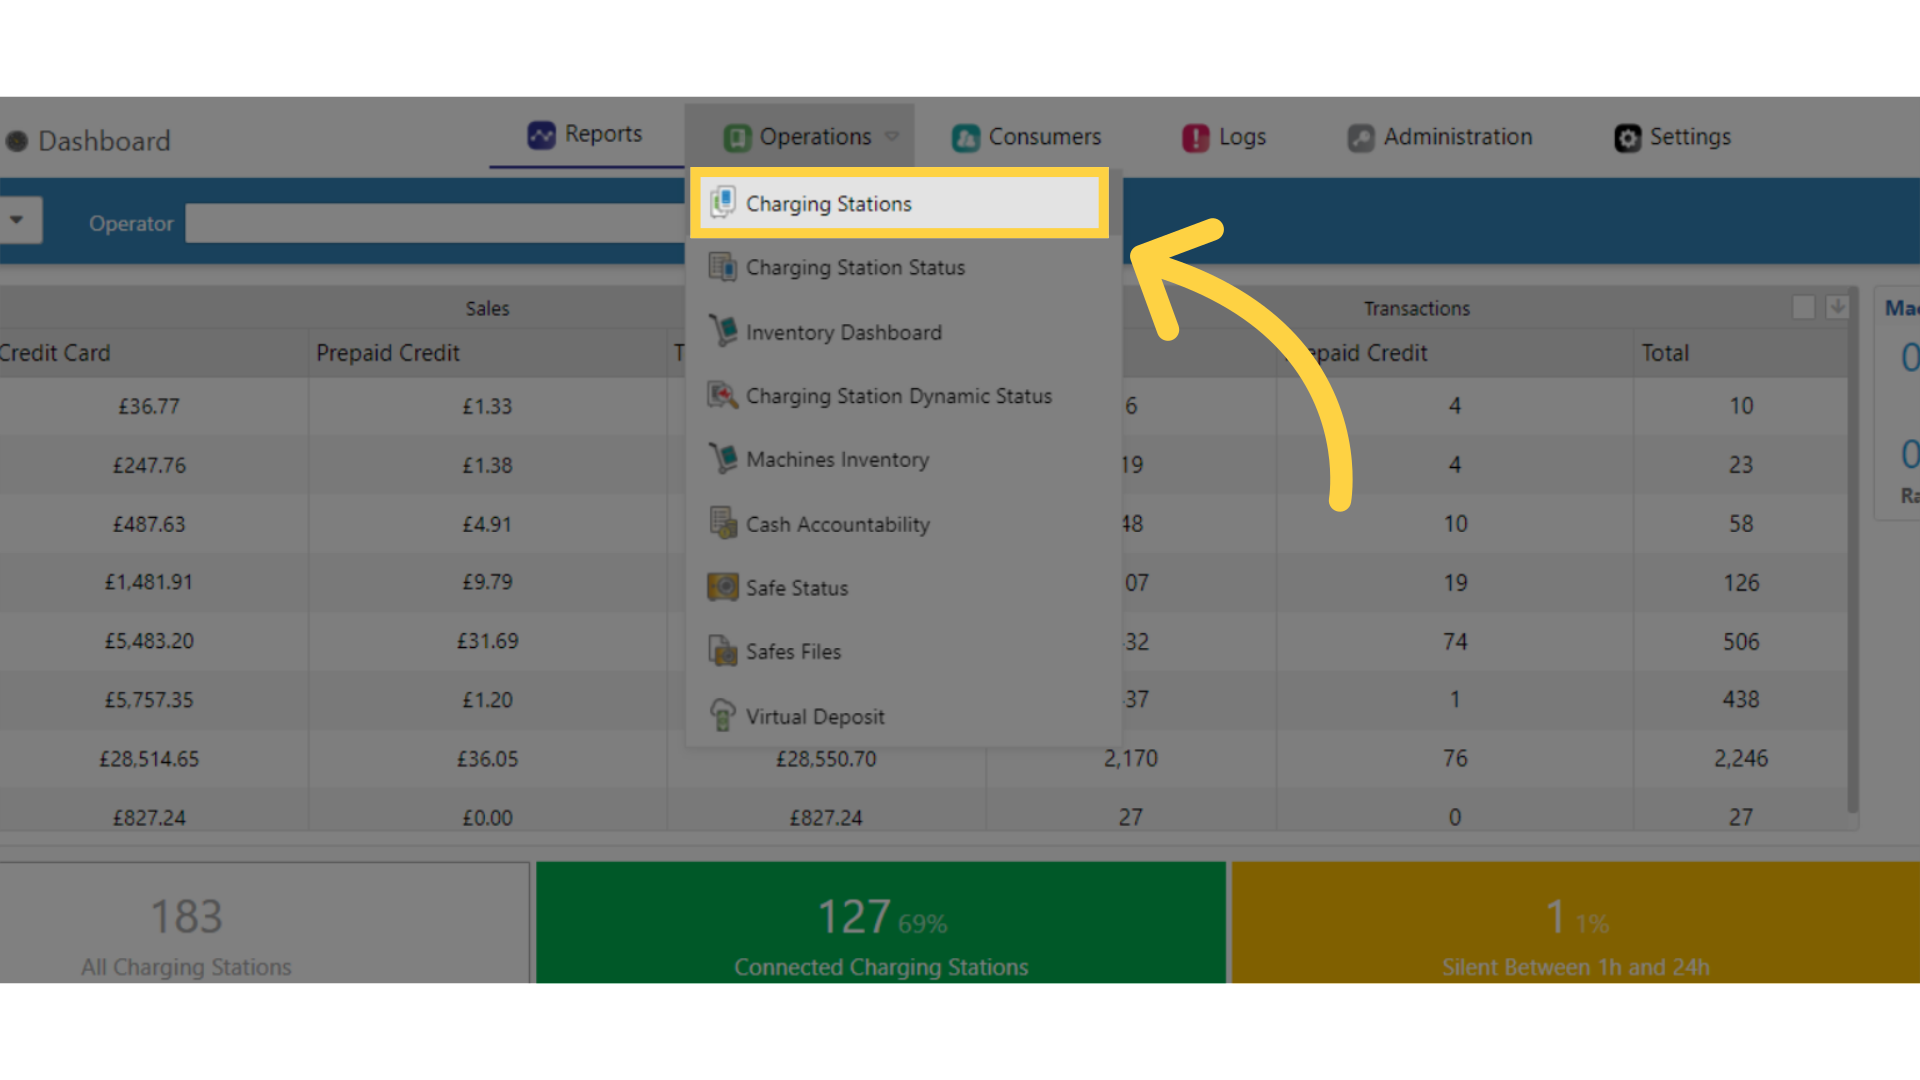
Click Charging Stations
Image Attached
Click on the Charging Stations tab from the drop-down menu.
4
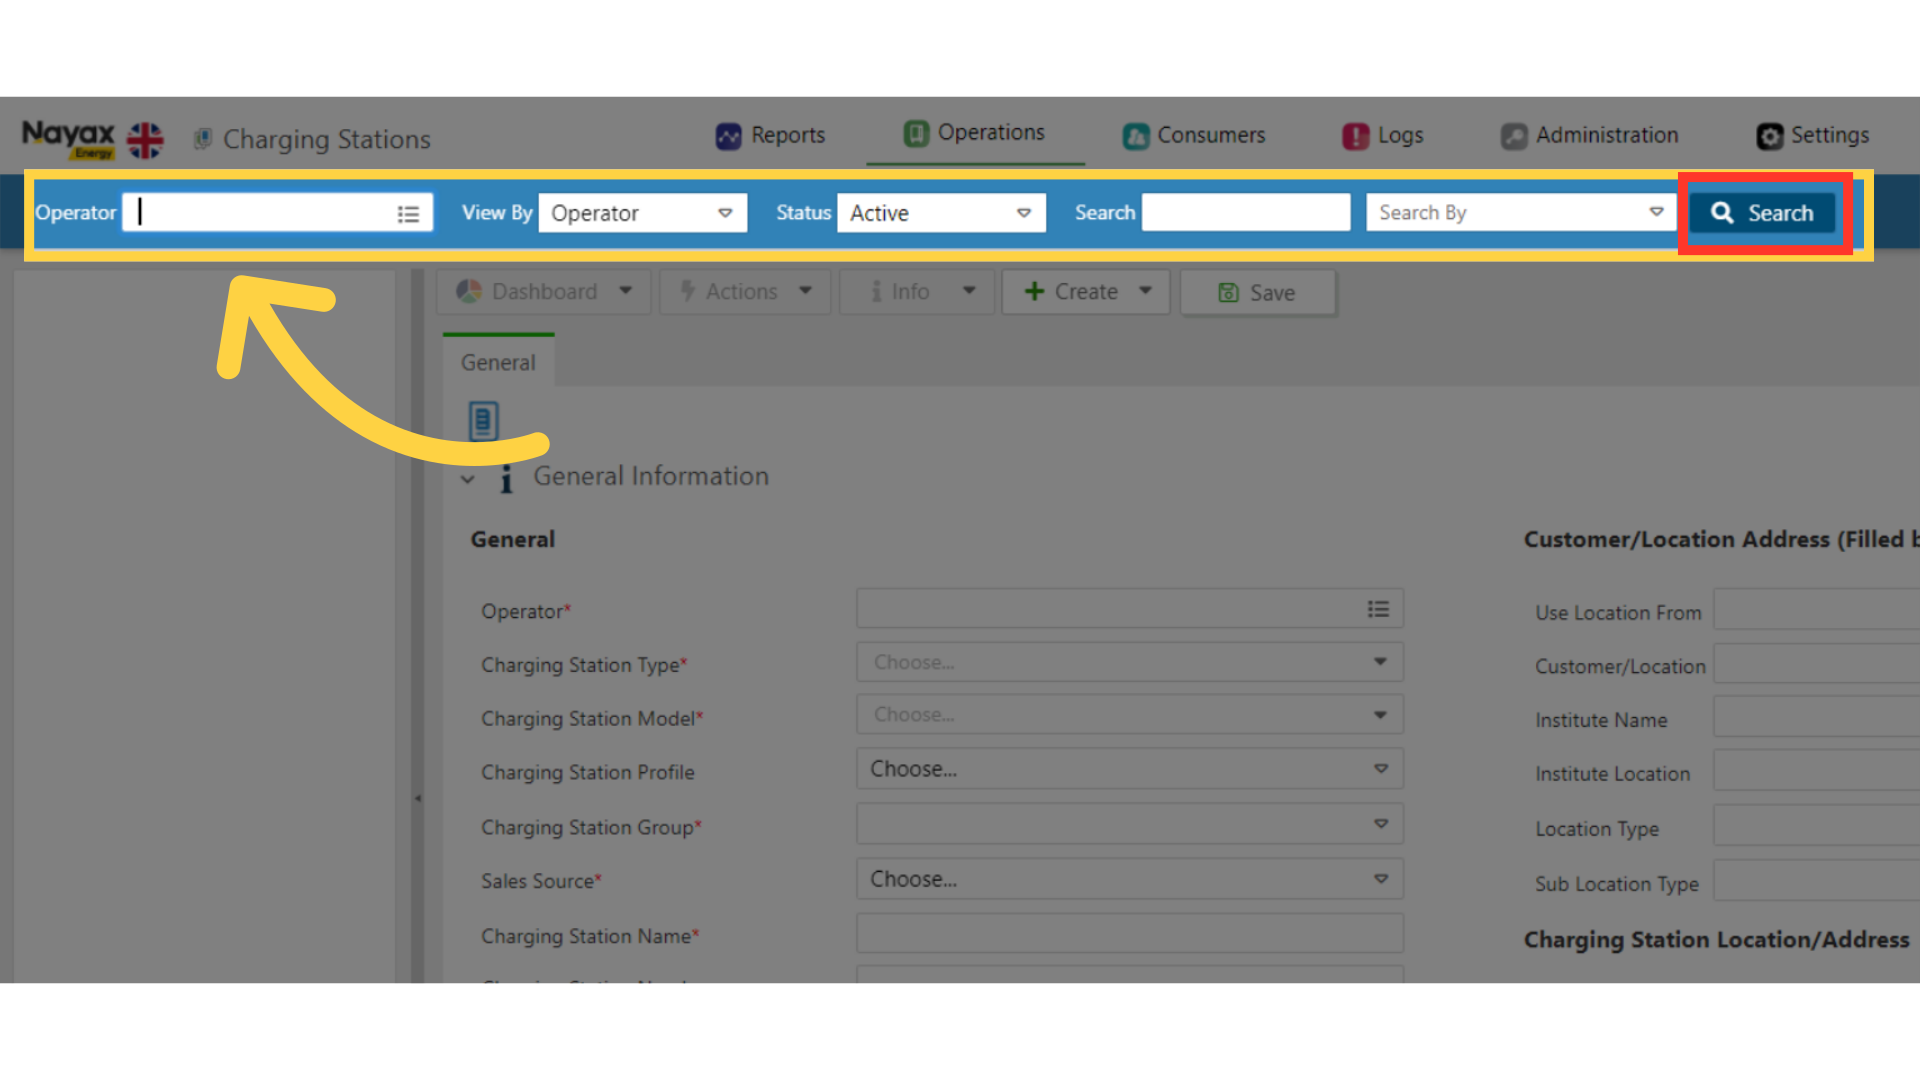
Fill in Charge Point Operator Details
Image Attached
Type in your Charge Point Operator name and any other fields to locate your Charging Point. Click search button as highlighted in RED on the visual.
Pro Tip: You can search without typing a name of a Charge Point Operator and leaving this field blank. In this case, the data displayed will be all the CPOs (and/or sub-operators) you have permission to view.
5
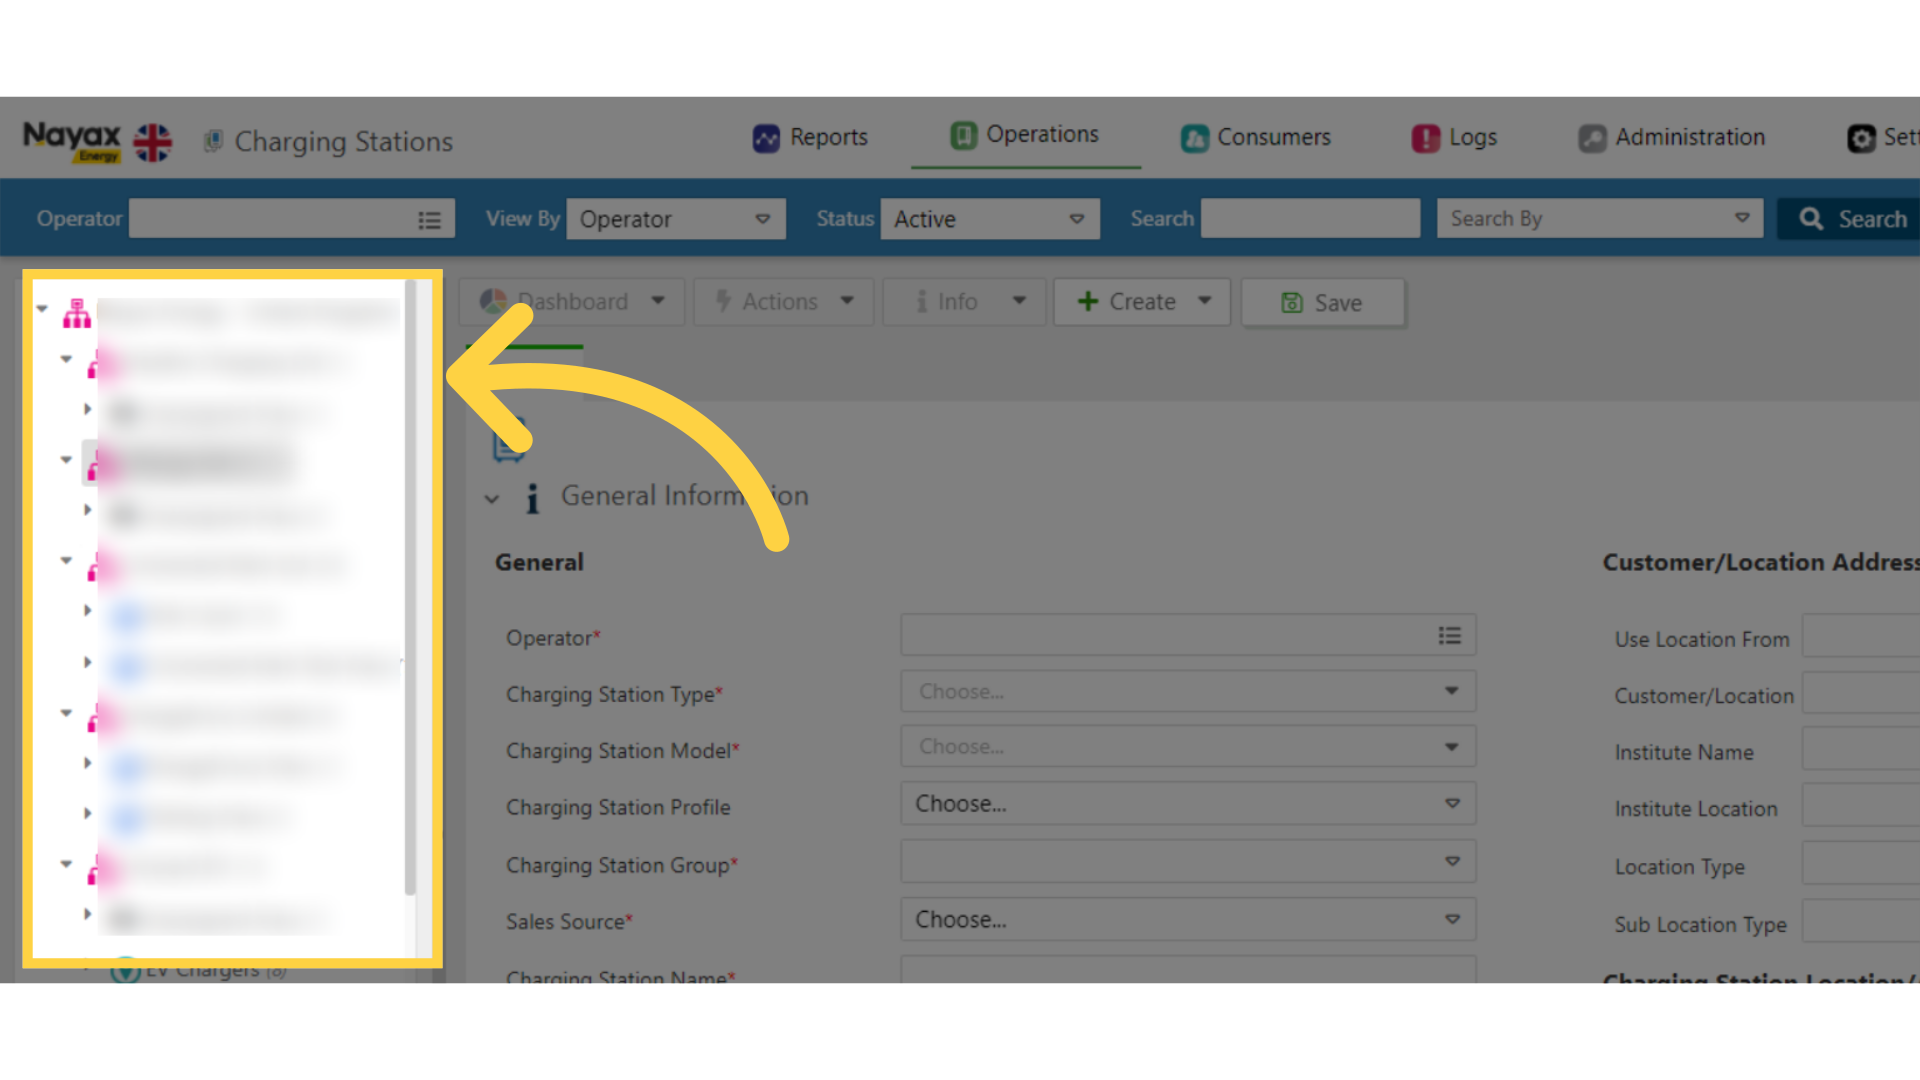
Locate Charging Point in Hierarchy
Image Attached
Locate and click on the Charging Point from the hierarchy.
6
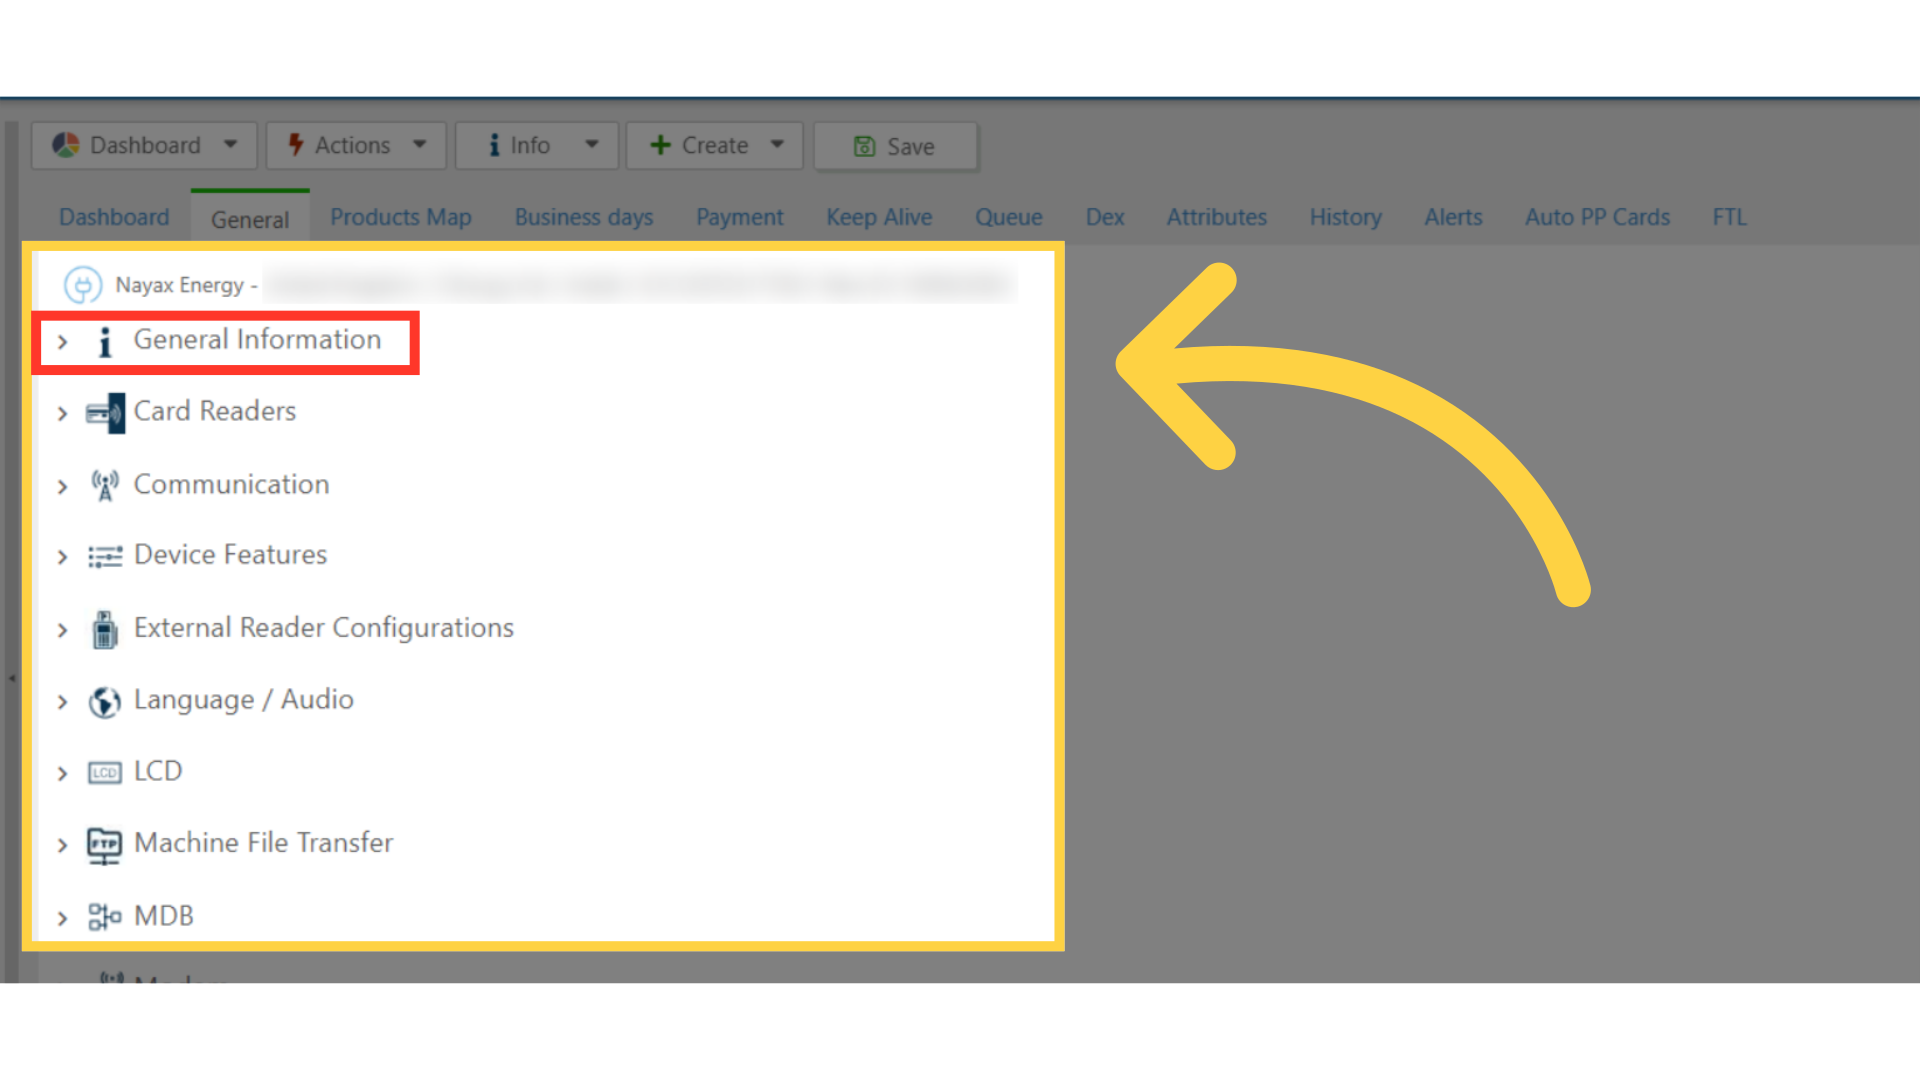
Click General Information
Image Attached
Click on the General Information button as highlighted in RED on the visual.
7
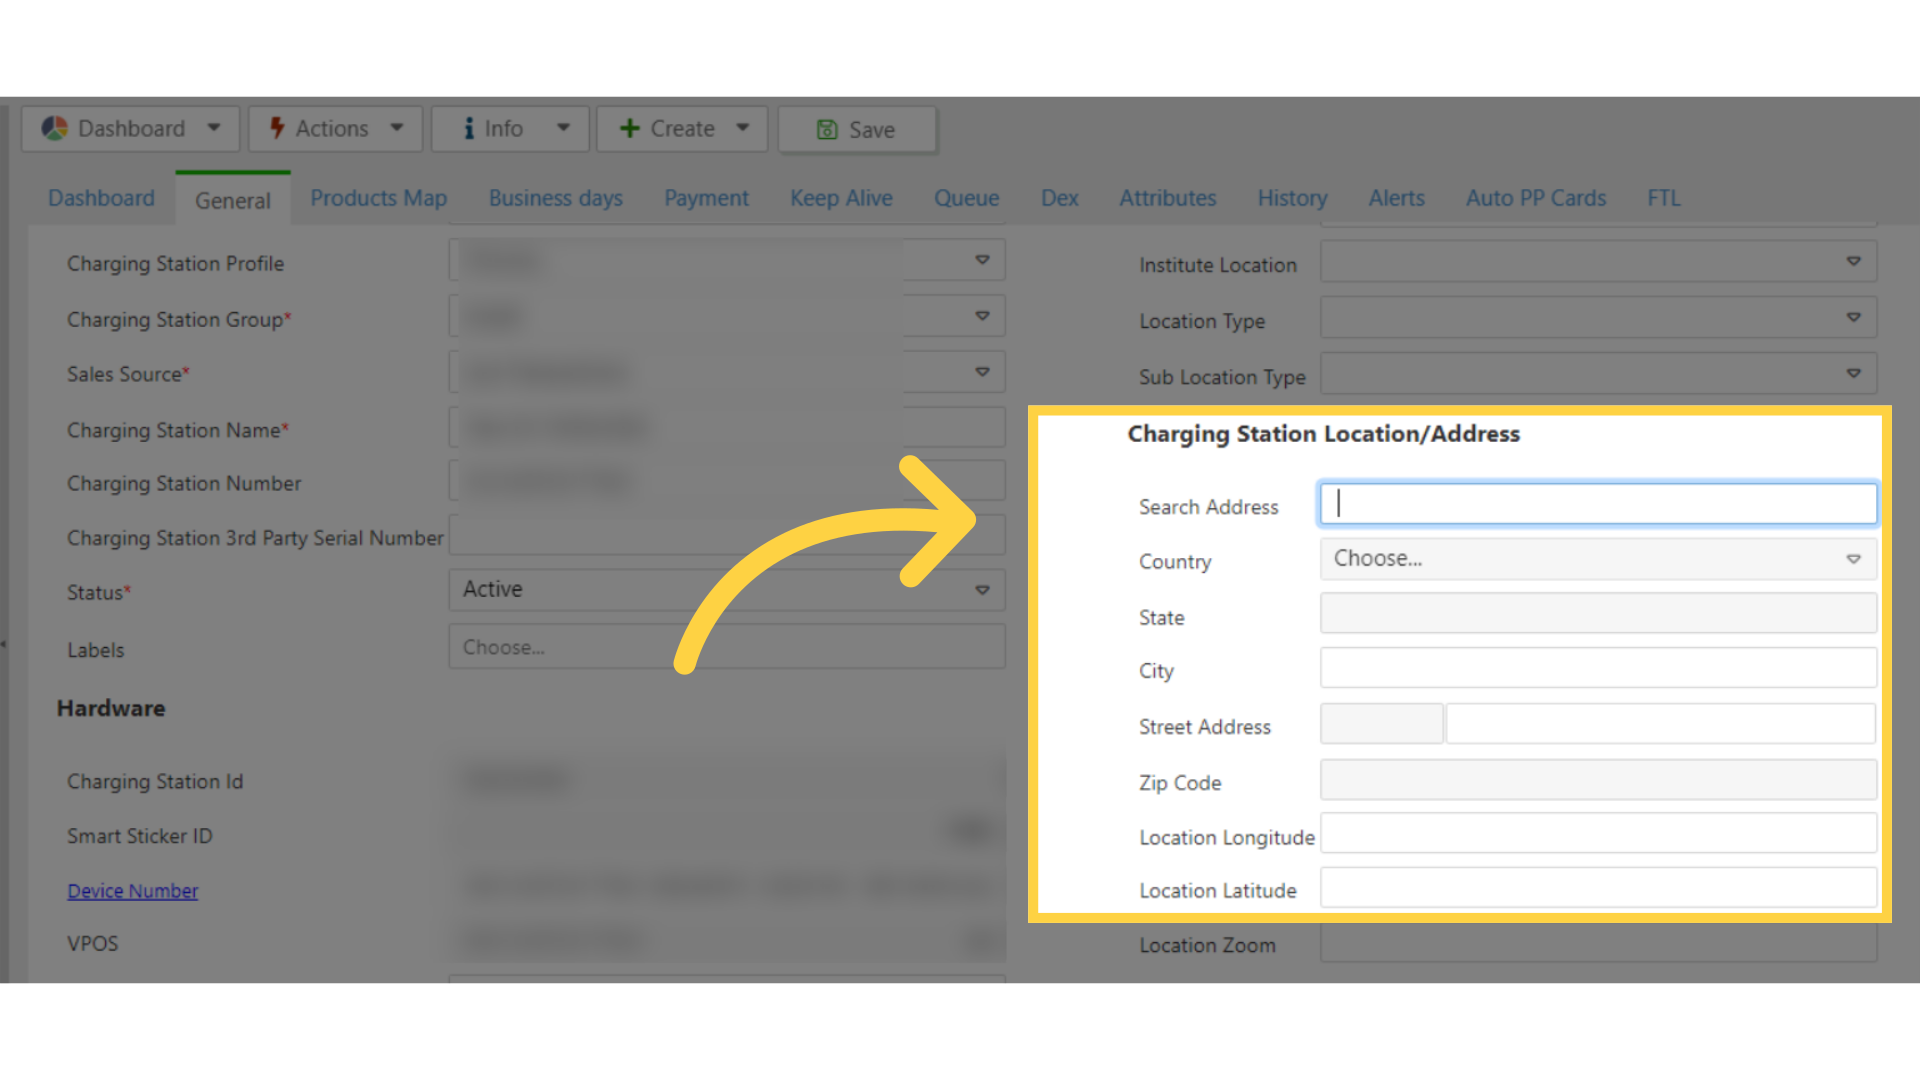
Fill in Location Details
Image Attached
Fill in the fields of the Charging Point location in the Charging Station Location Address section.
8
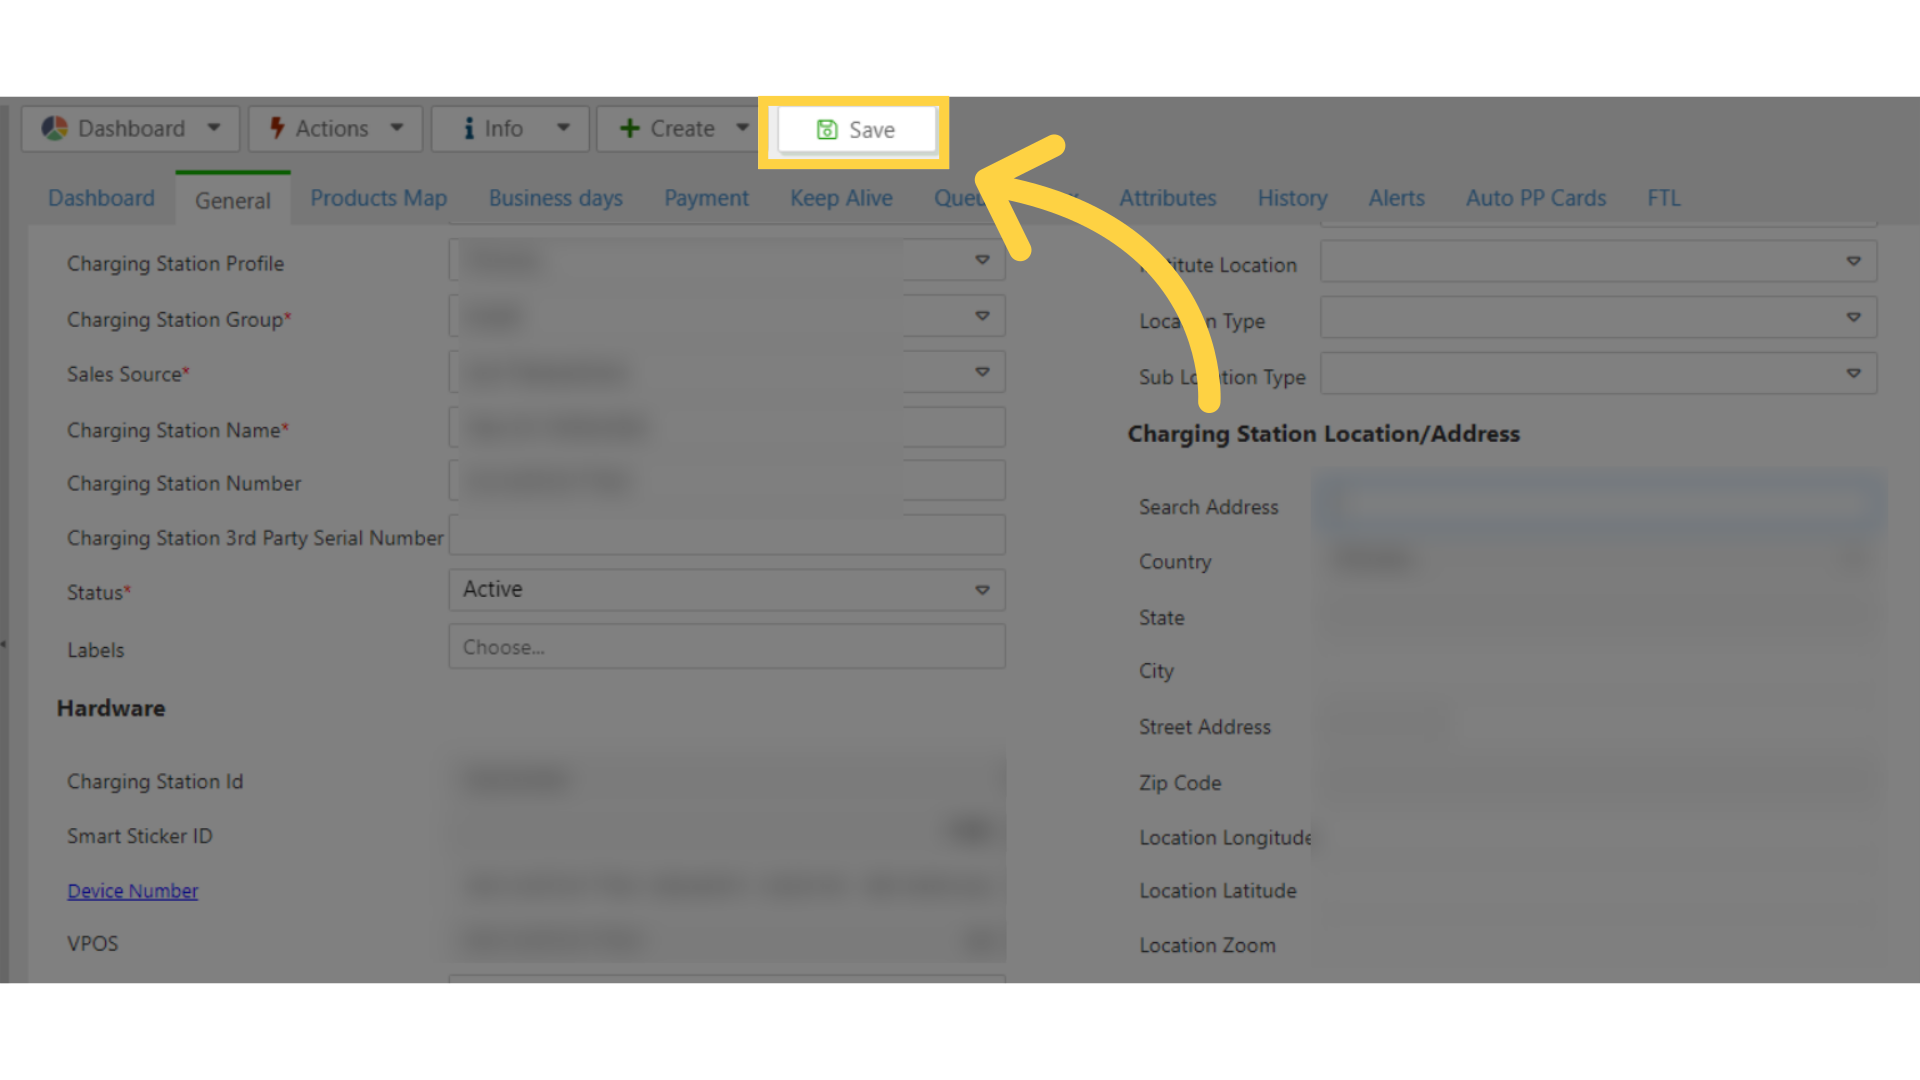
Click Save
Image Attached
Click on the save button to save your progress.
9
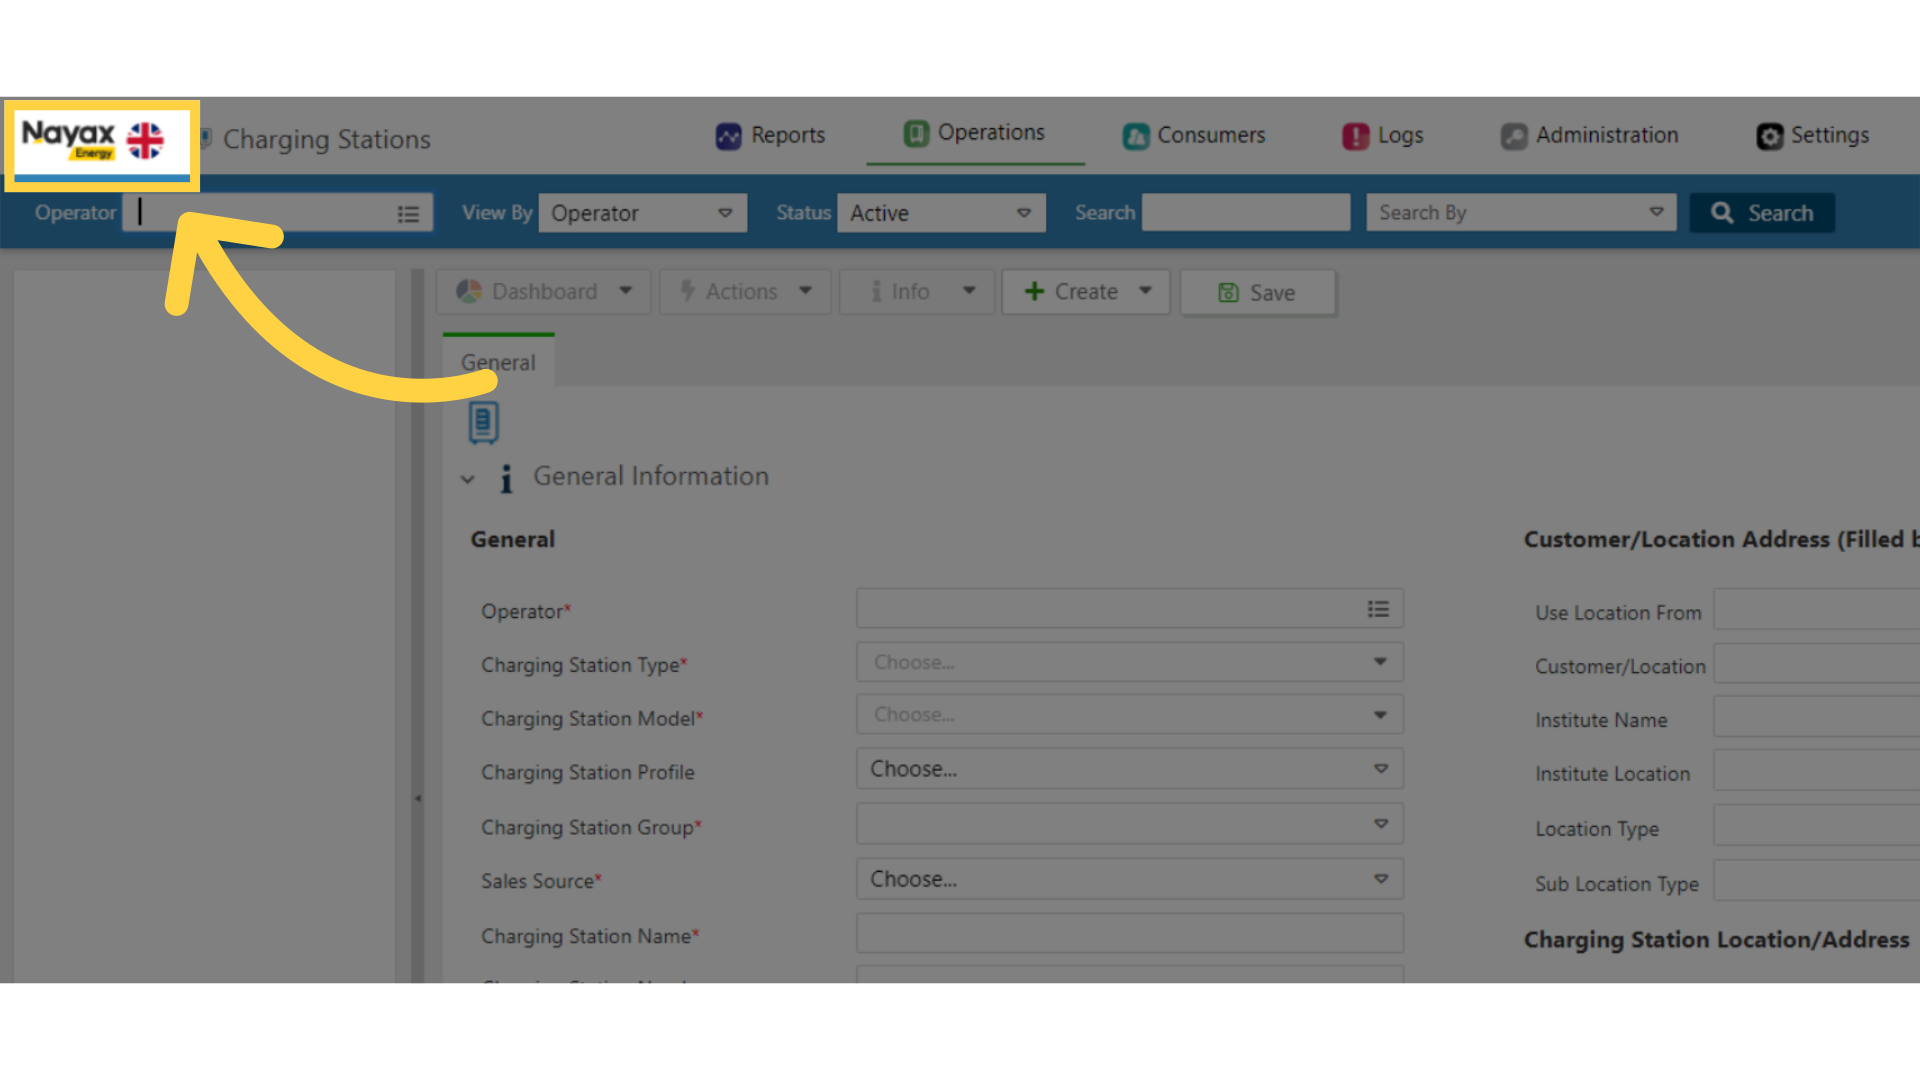
Click Nayax Energy Logo
Image Attached
Now that your charging point's location is set, lets go to the main dashboard by clicking on the Nayax Energy logo on the top left corner of the screen.
Please Note: the flag Logo is regional to your country account.
10
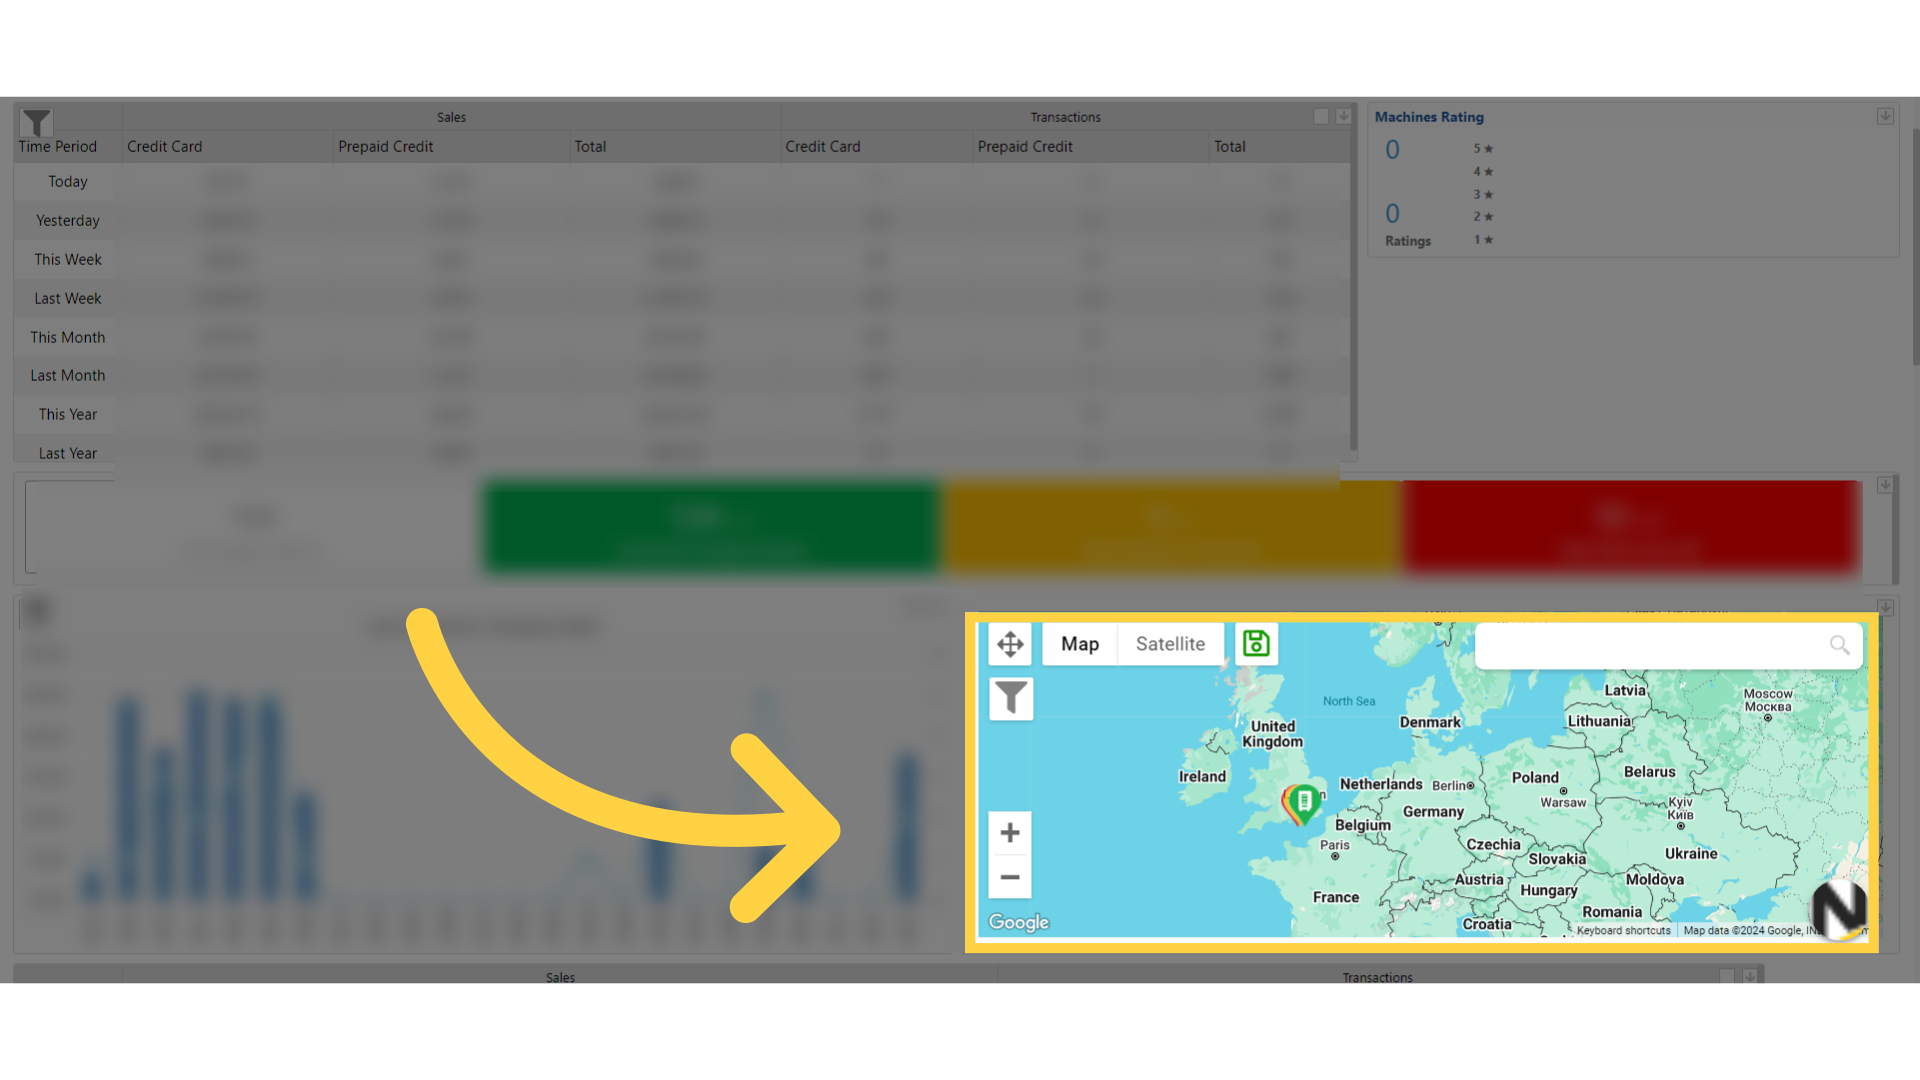
Map Widget Displaying Charge Points
Image Attached
You can now see the map widget display all your charge points by location. You can zoom in or out of the map per your need.
We hope this guide was able to walk you through the process, we ask you to please help us help you by leaving feedback!
Thank you!
Did you find this article helpful?