Invite a new user to Nayax Core
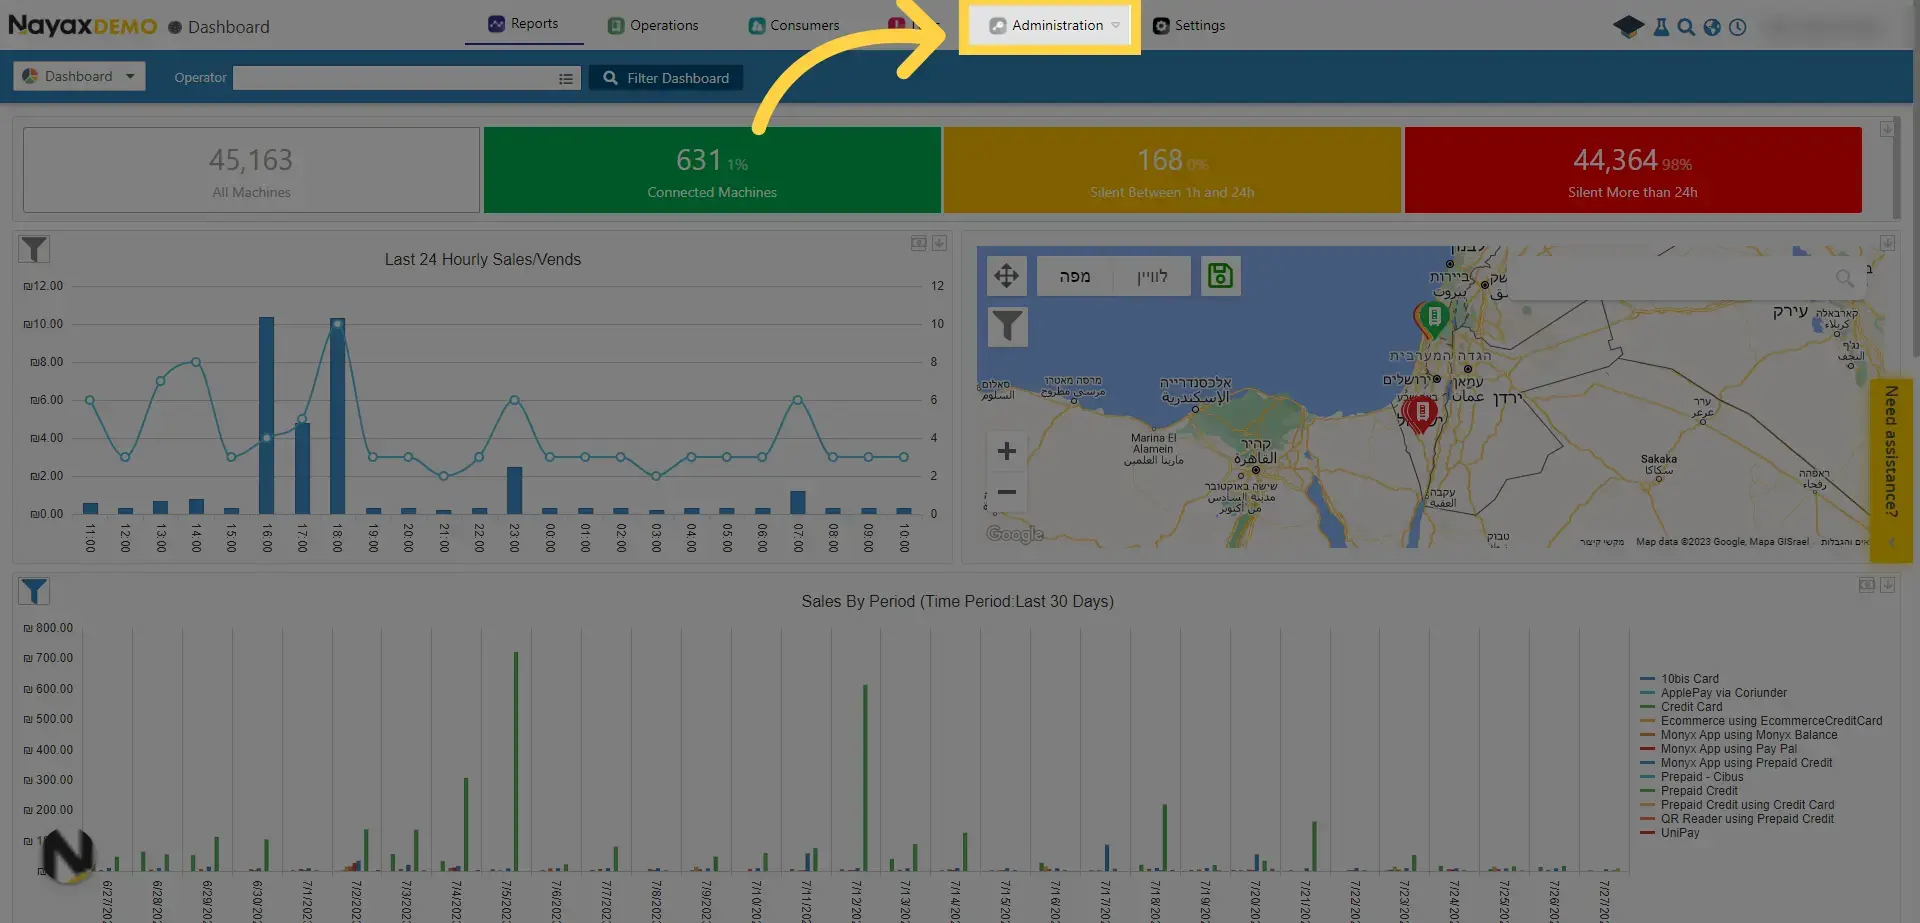
1. Click "Administration"
Image AttachedClick on the "Administration" tab.
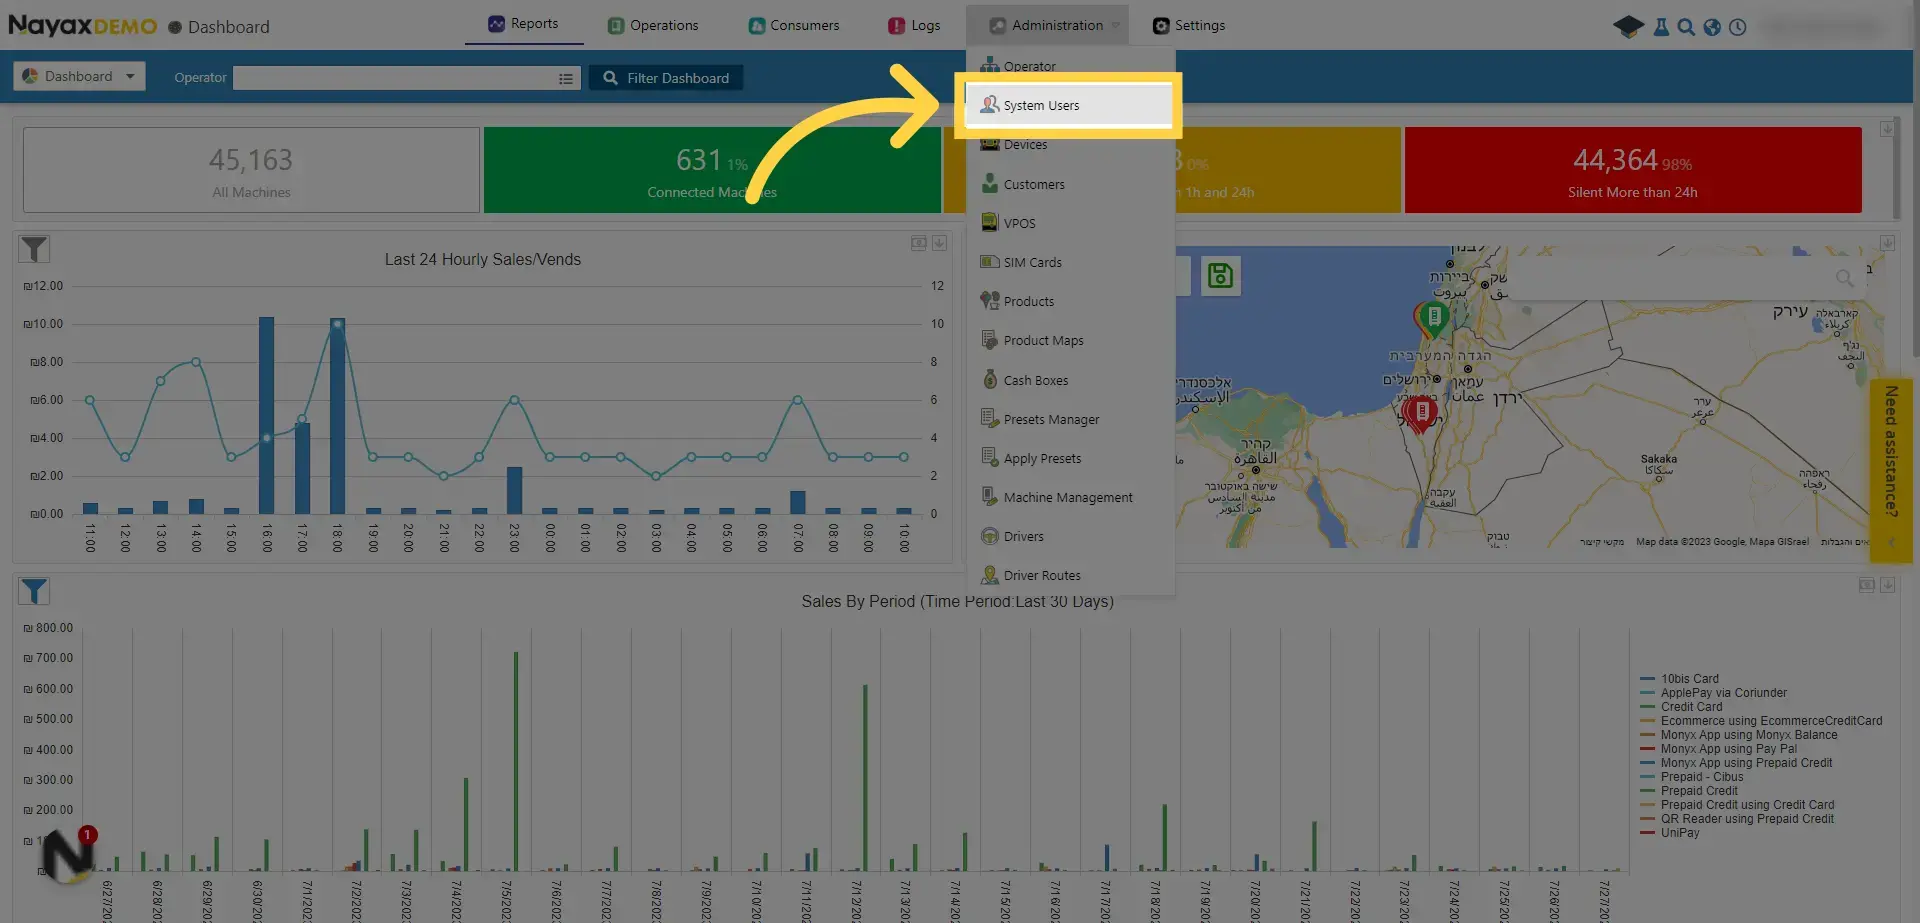
2. Click "System Users"
Image AttachedClick on the "System Users" option from the drop-down menu.
If you can't see this option, it means you don't have permission for this action. Please contact your system admin in your organization or our Support team.
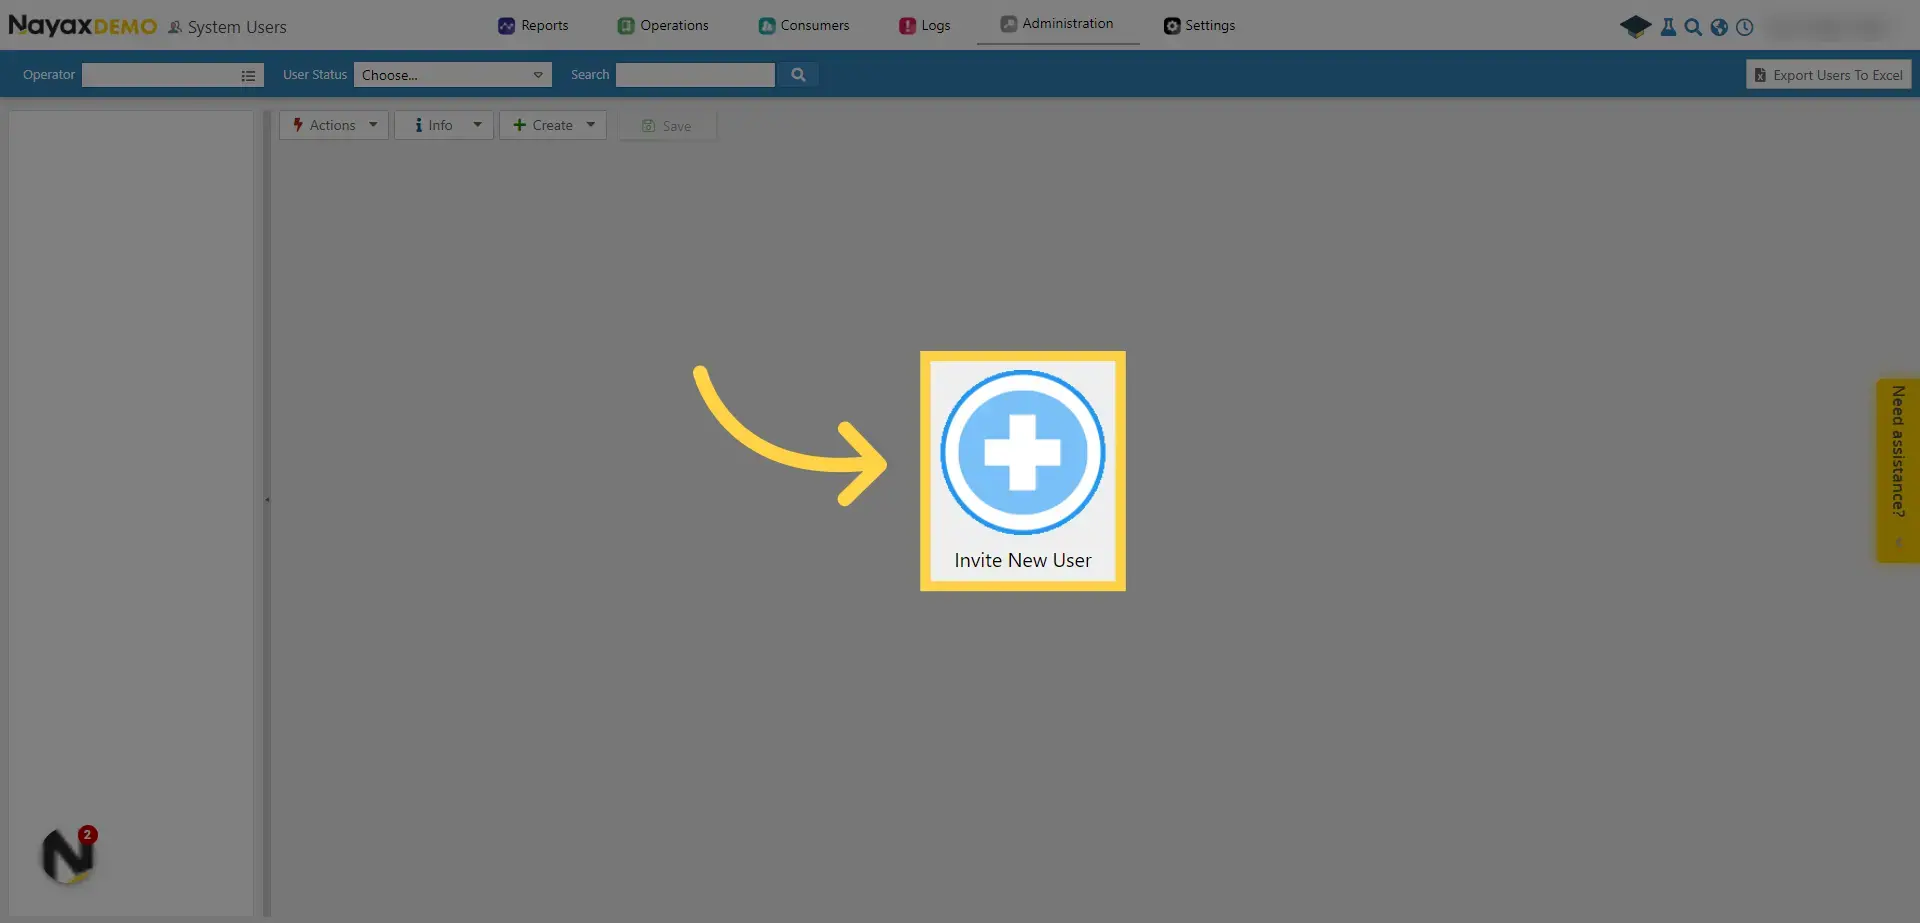
3. Add a New User
Image AttachedClick to add a new user.
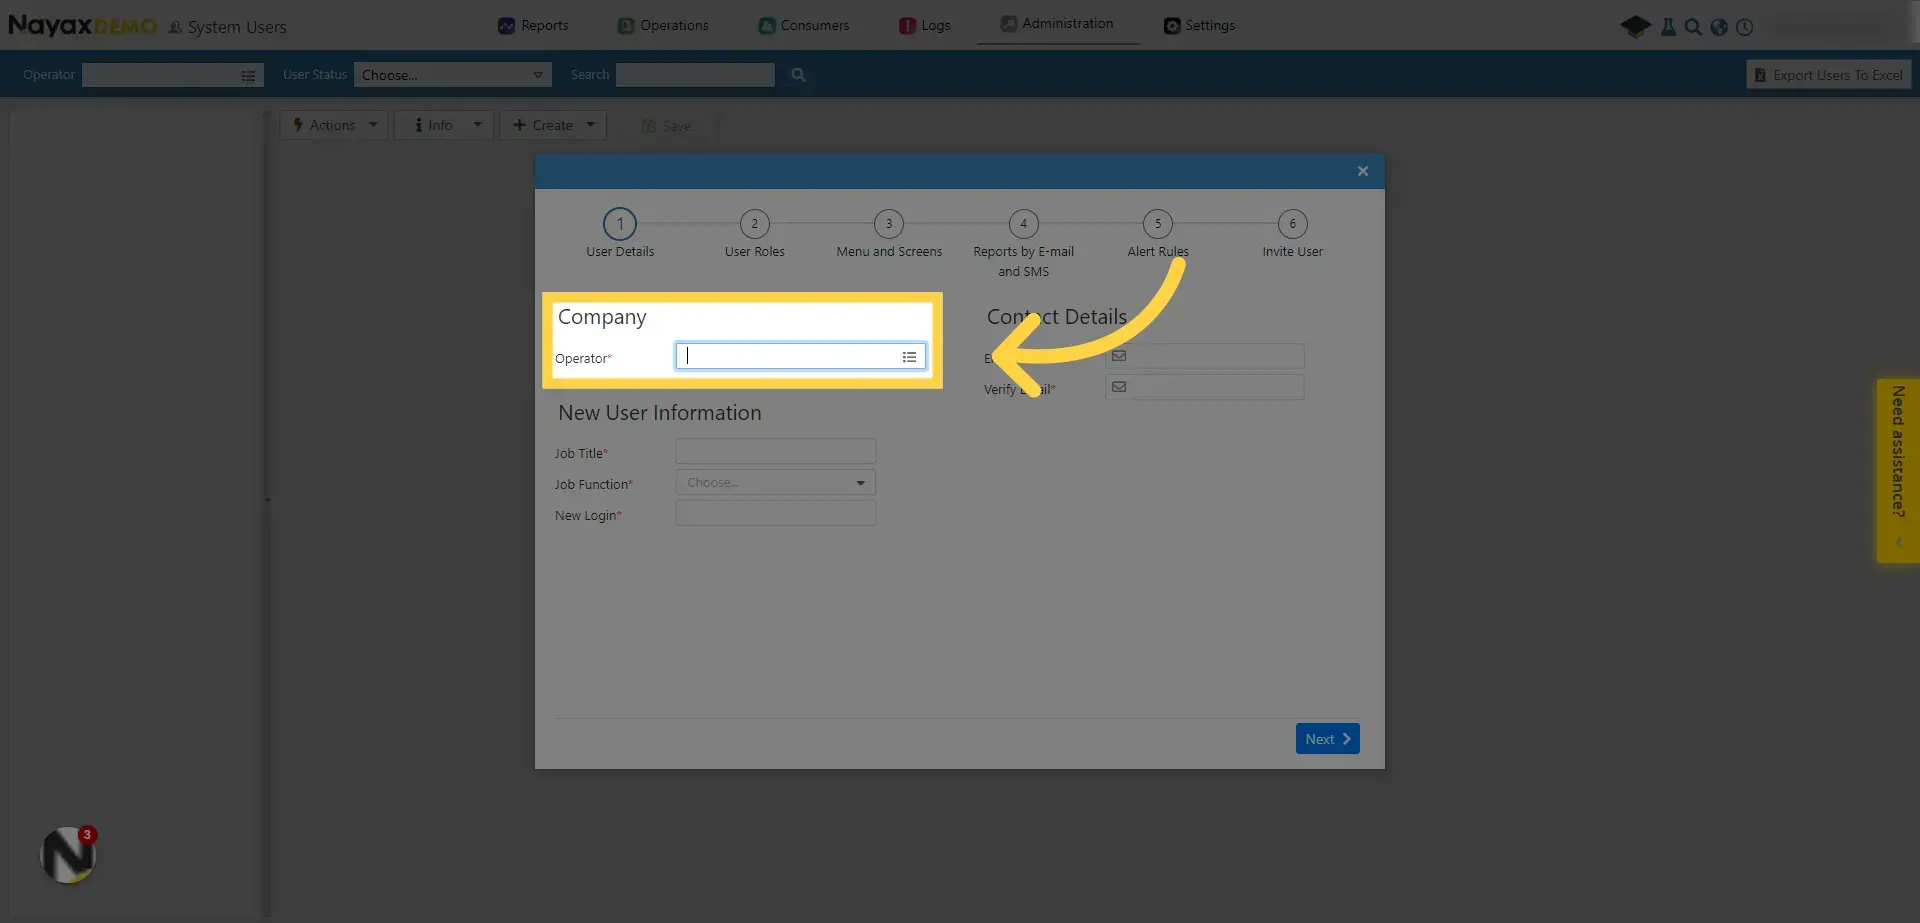
4. Operator name
Image AttachedType the operator name. The user will be created under this operator.
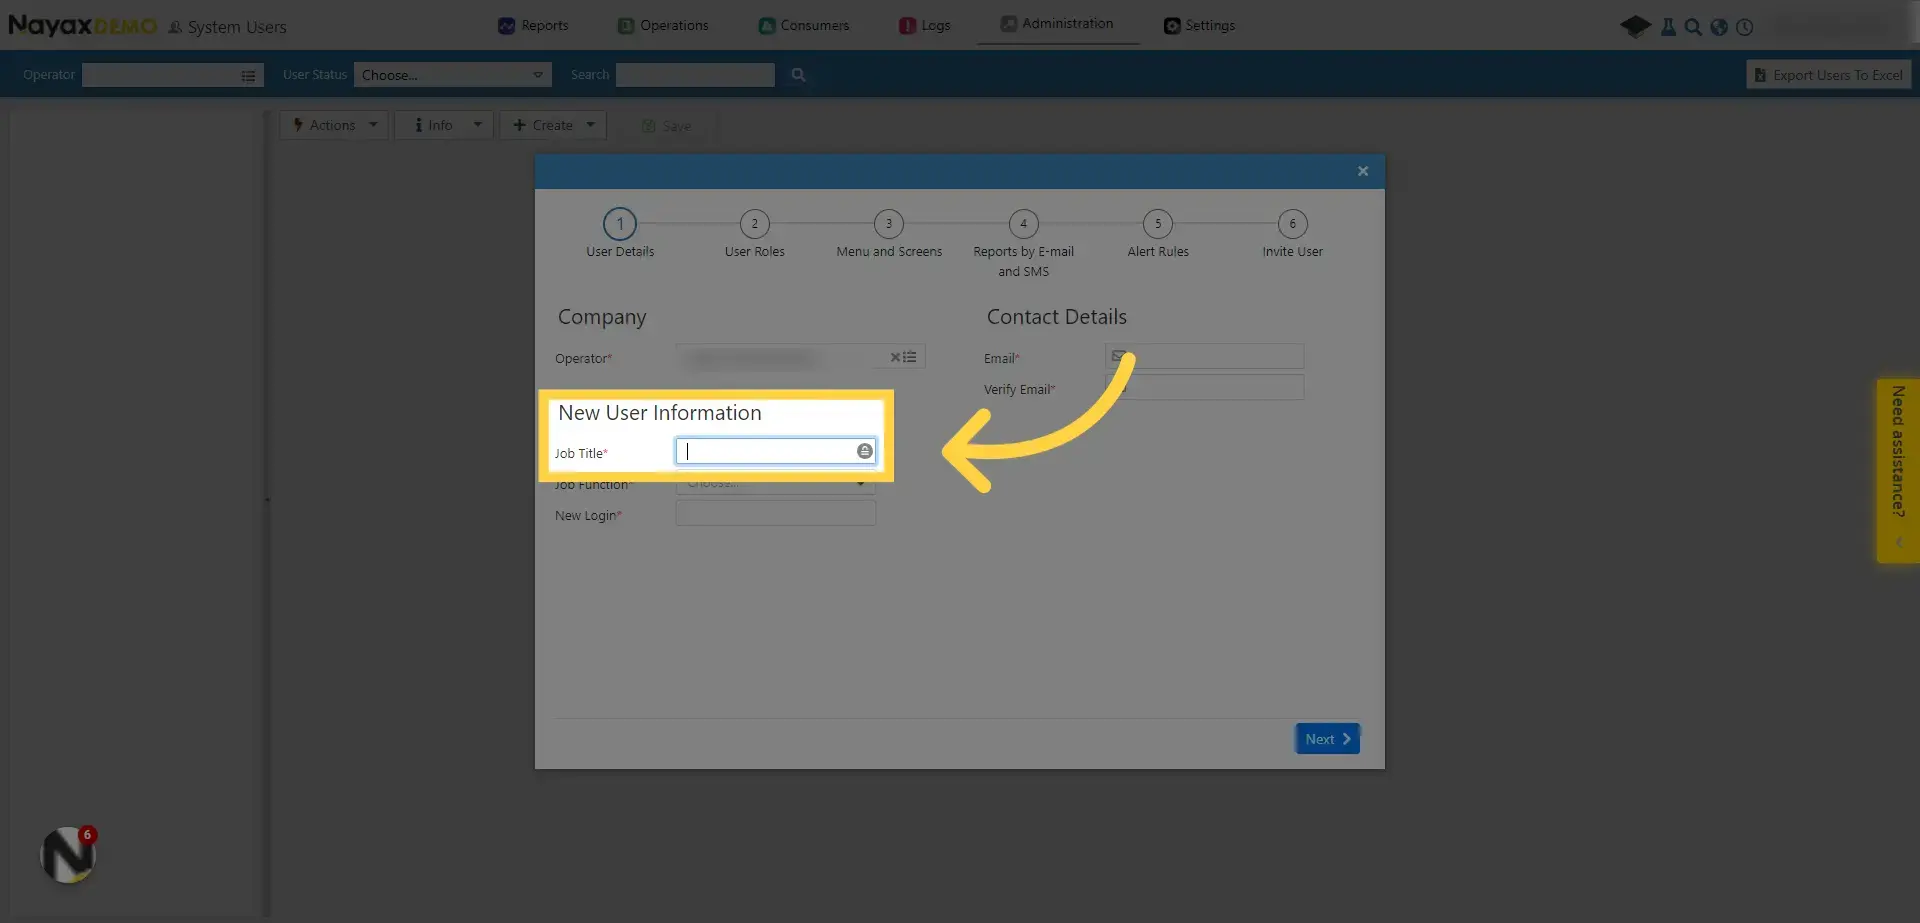
5. User Job Title
Image AttachedType the user's Job Title.
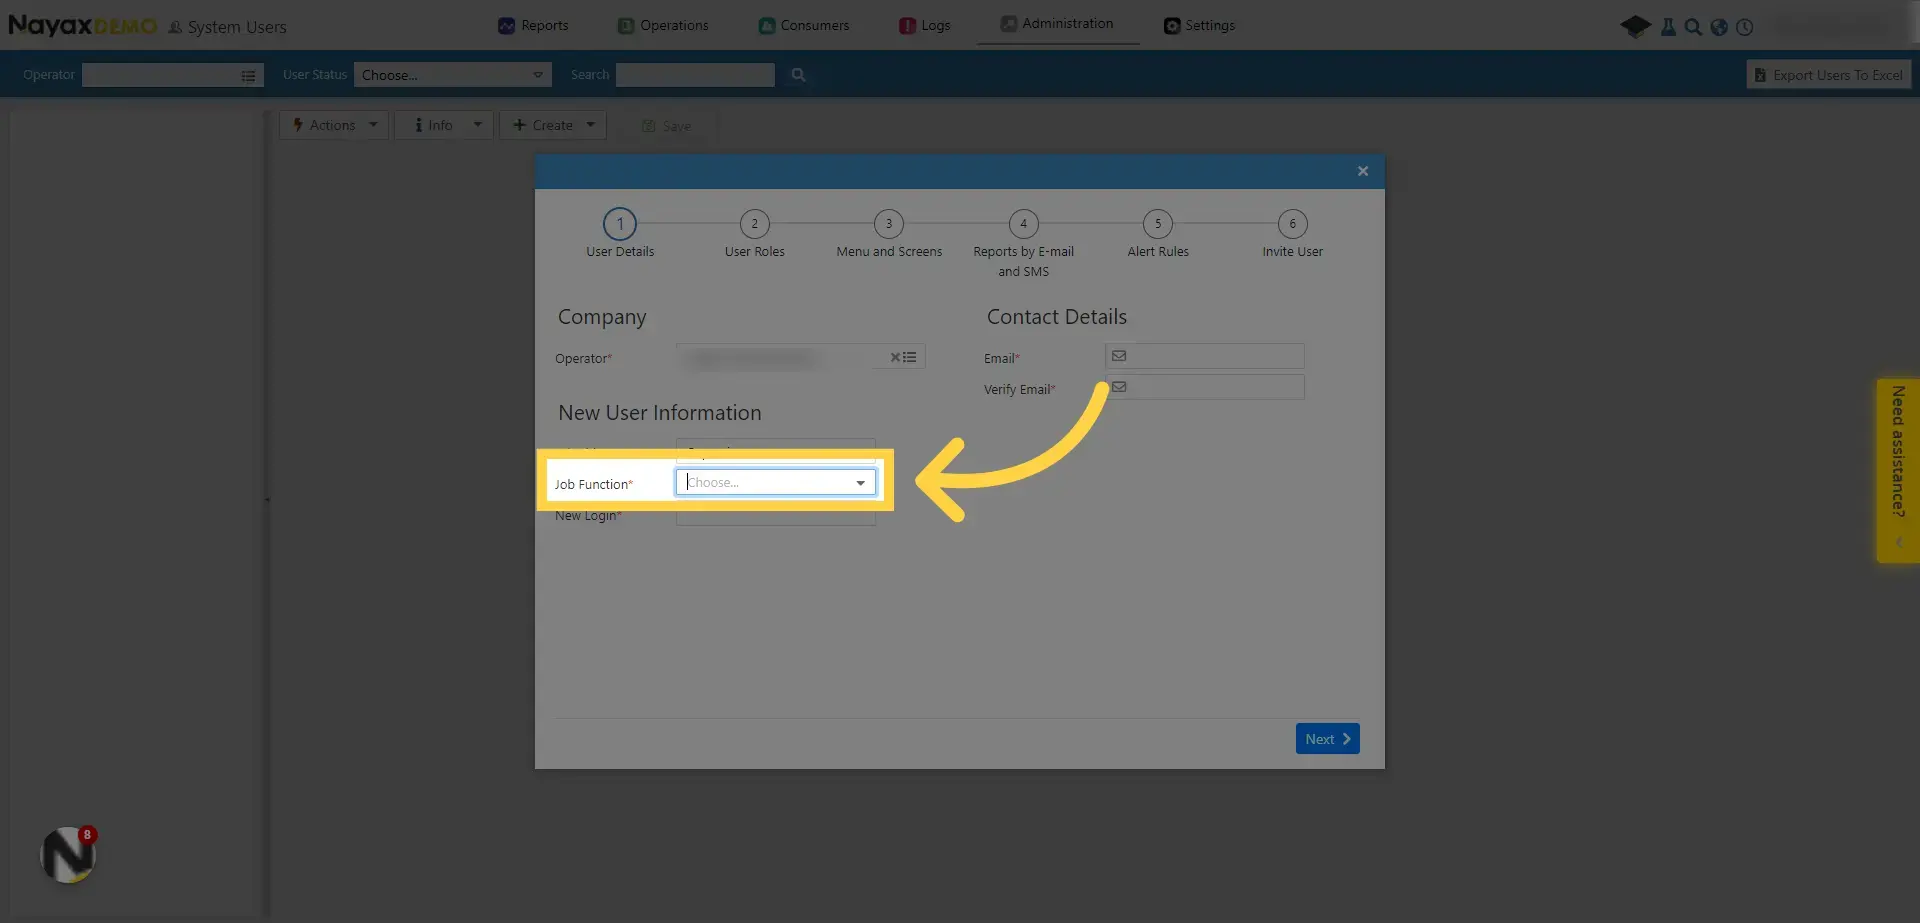
6. User Job Function
Image AttachedChoose the user's Job Function.
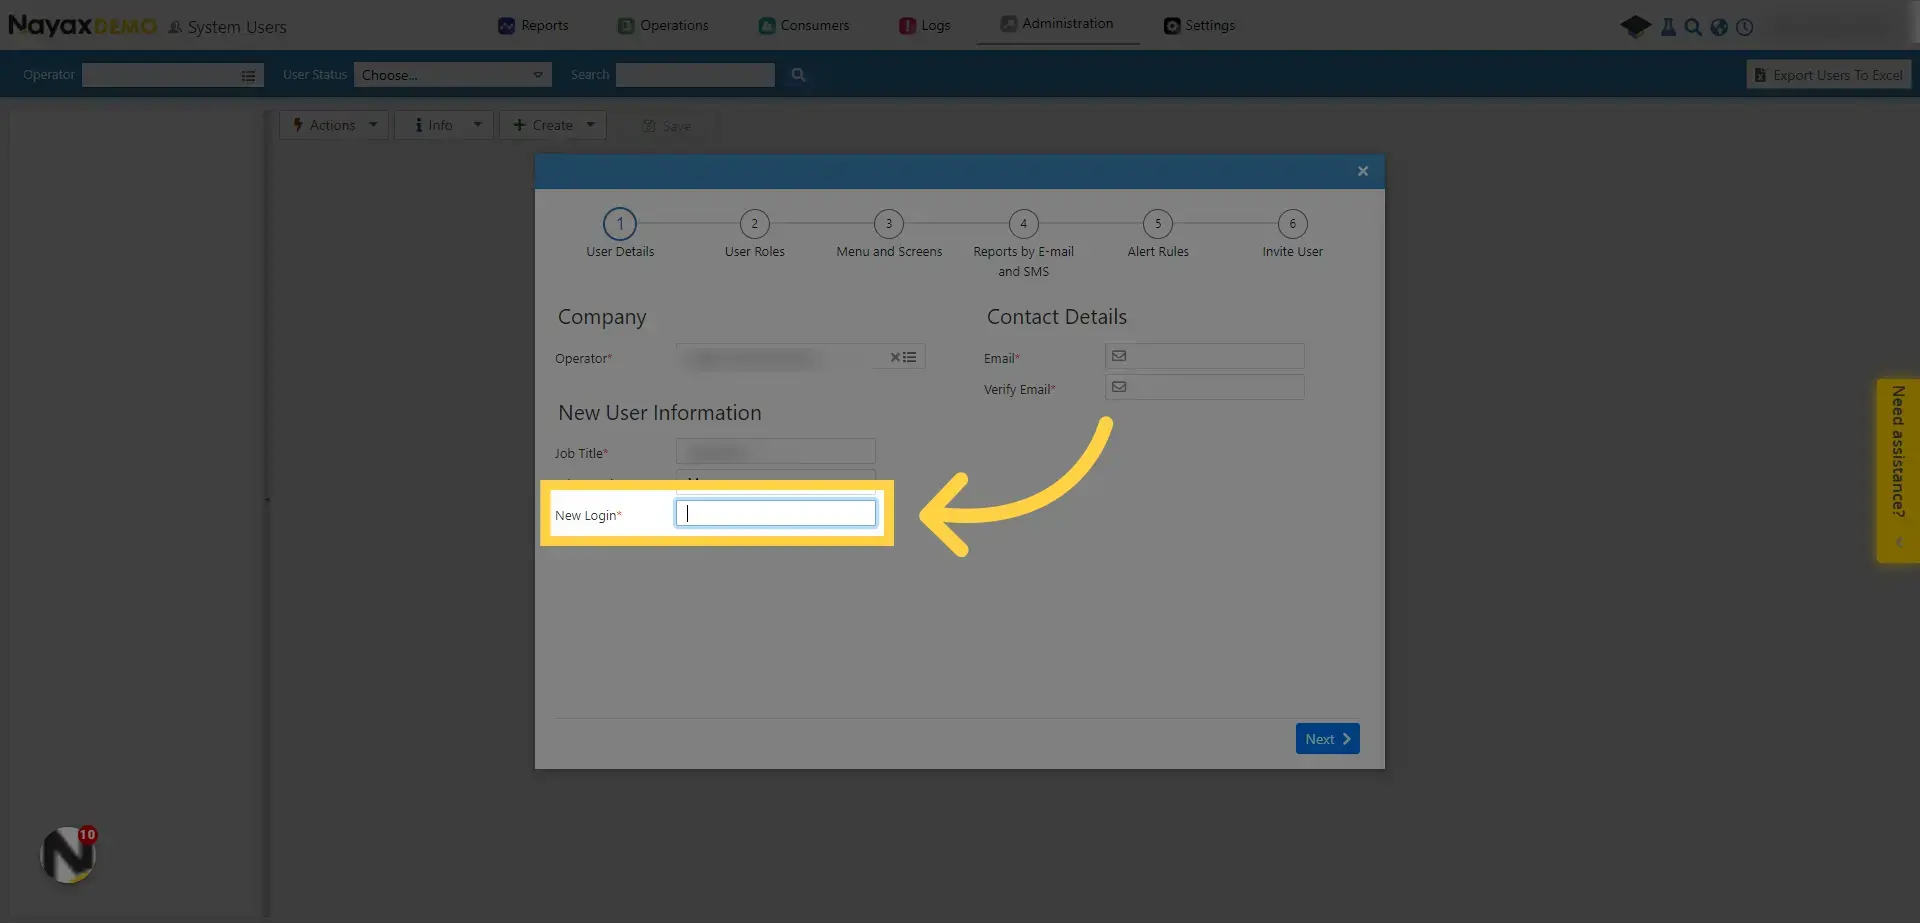
7. Specify User name
Image AttachedSpecify the user name.
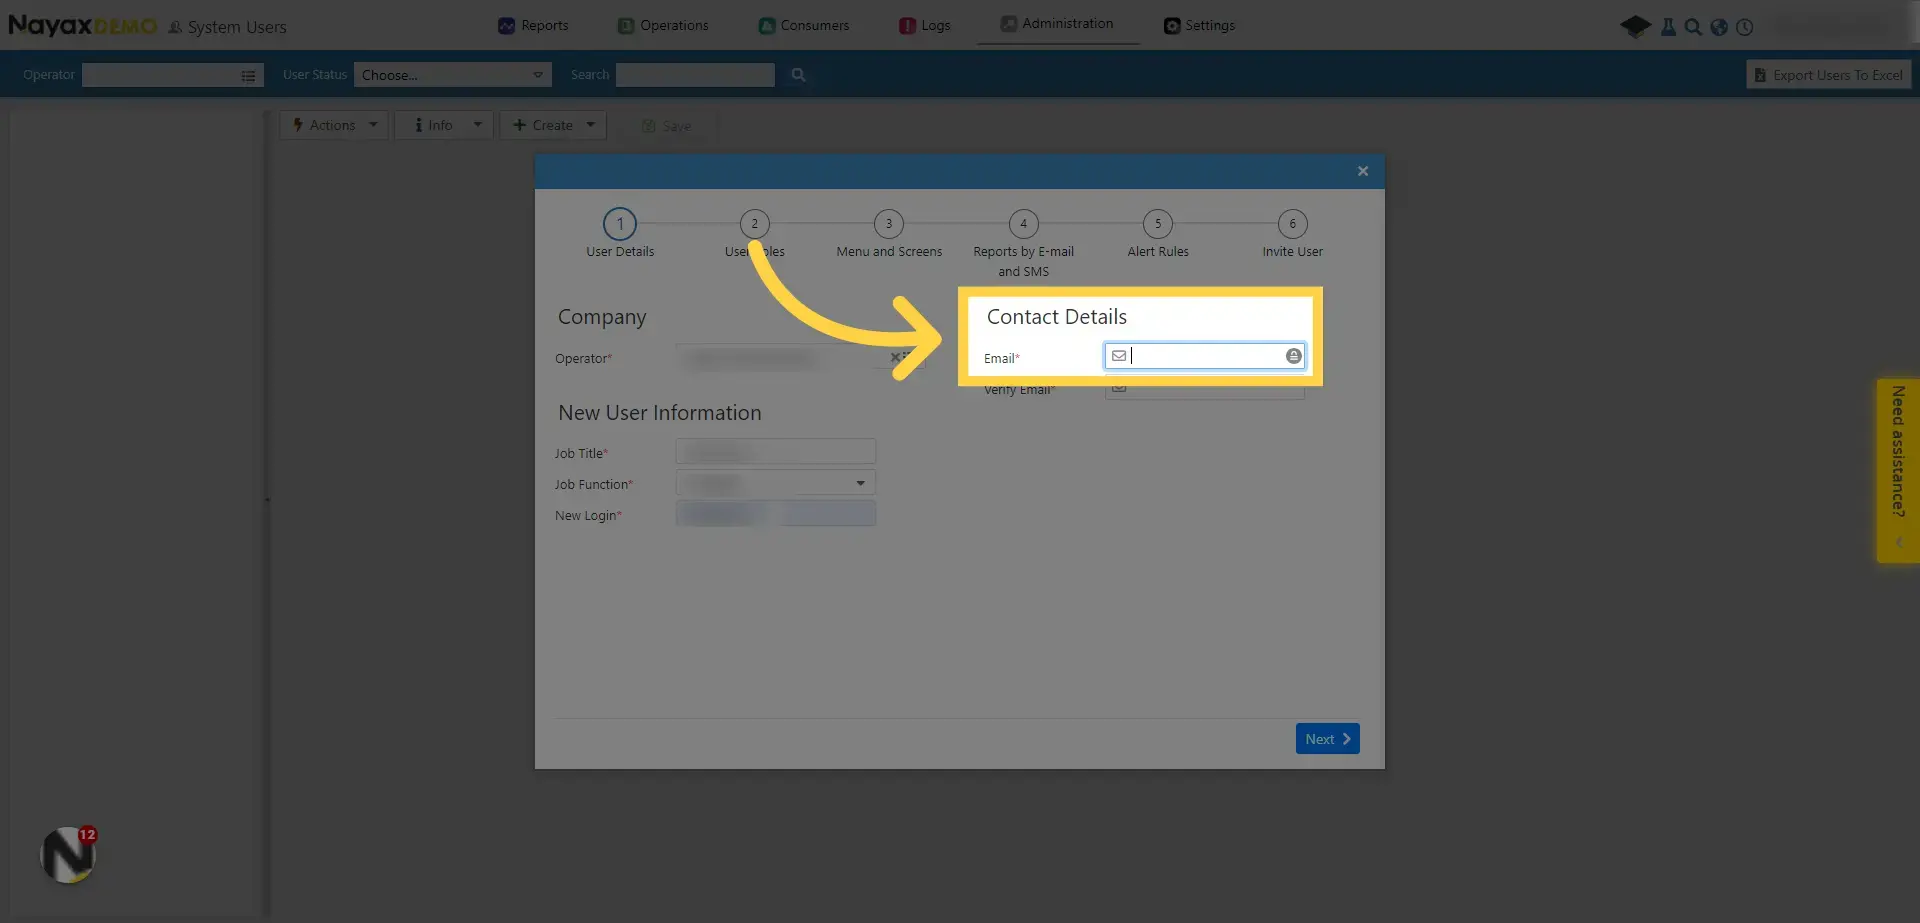
8. Enter User's Email
Image AttachedFill in the user's Email address.
9. Verify User's Email
Image AttachedVerify the Email from above.
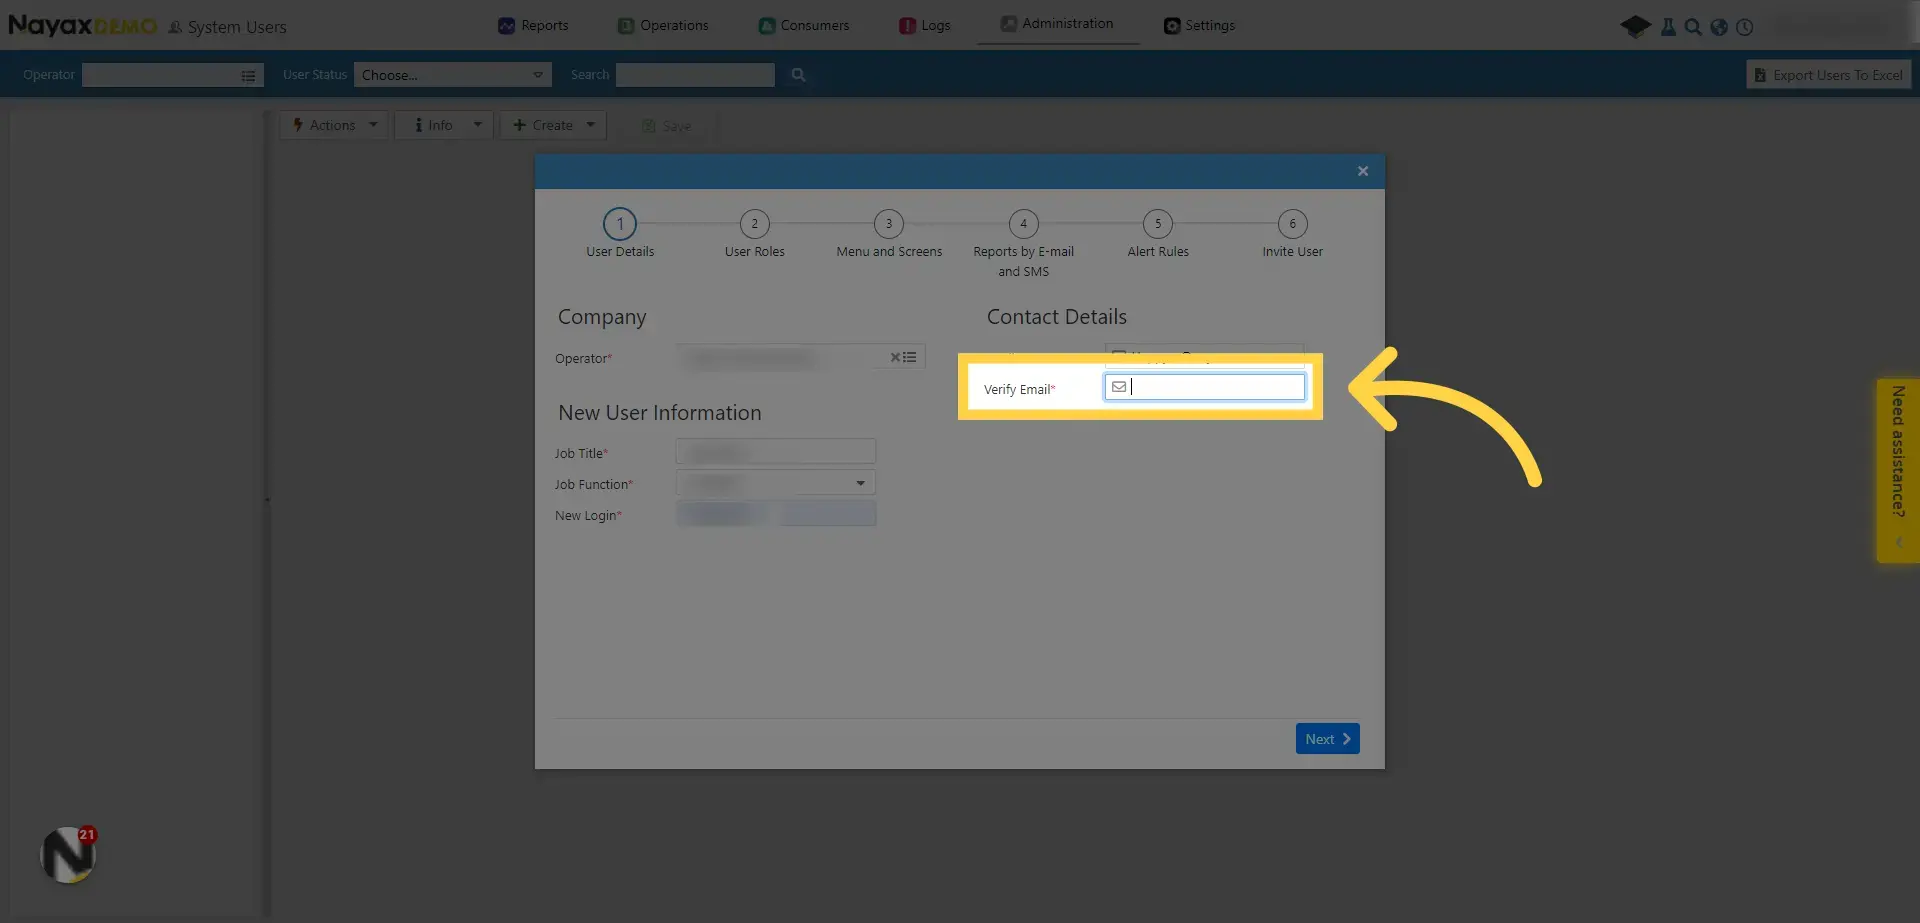
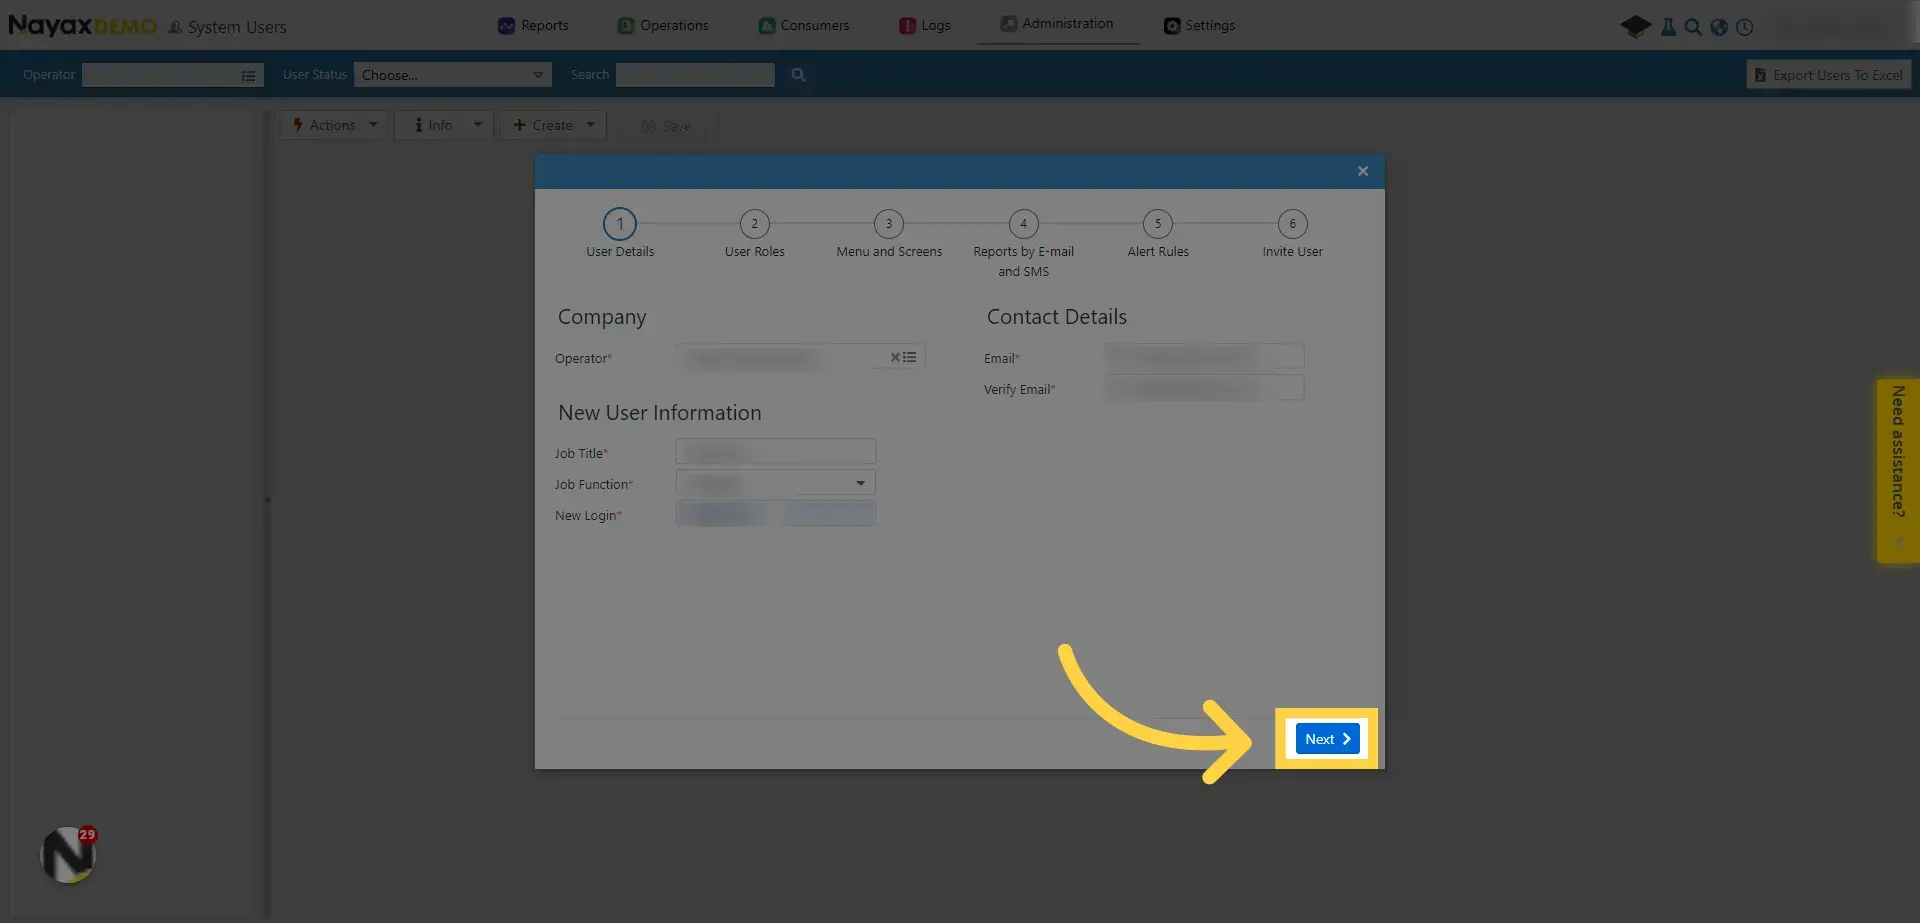
10. Click "Next"
Image AttachedClick on the "Next" button.
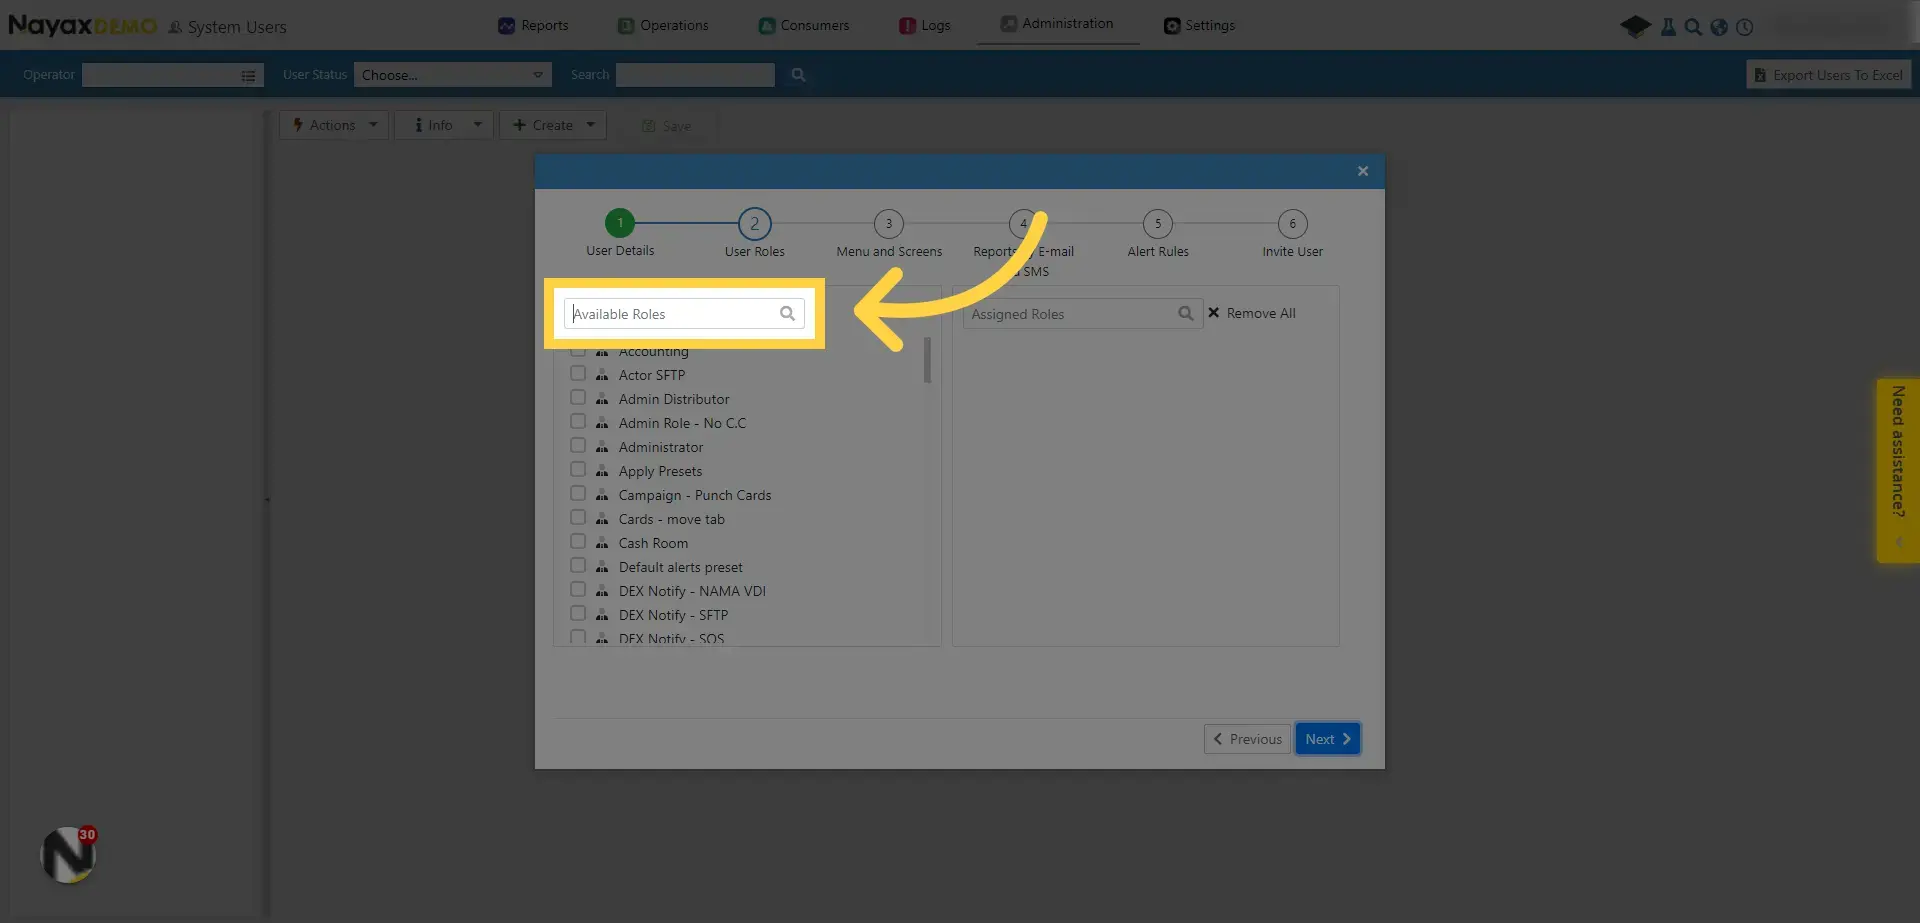
11. Click "Available Roles"
Image AttachedSelect from the list of "Available Roles" the roles you wish to assign to the new user.
To learn more about user roles, click here to download the full "User Roles" document.
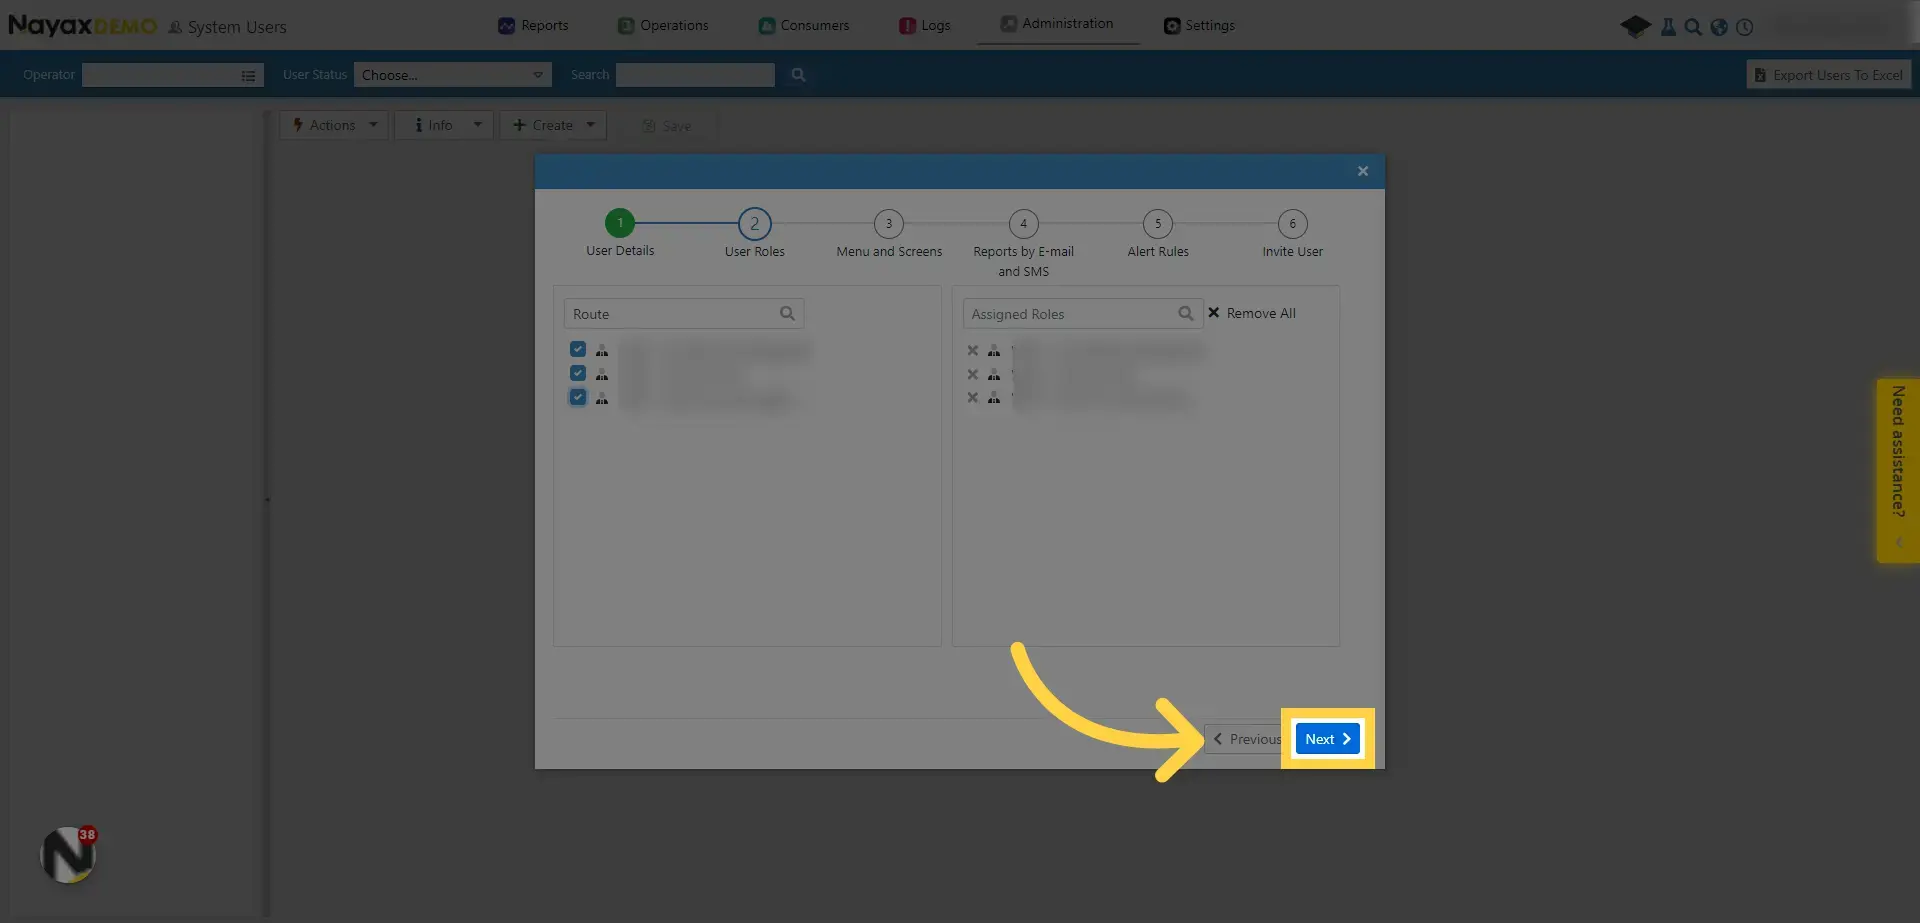
12. Click "Next"
Image AttachedClick on the "Next" button.
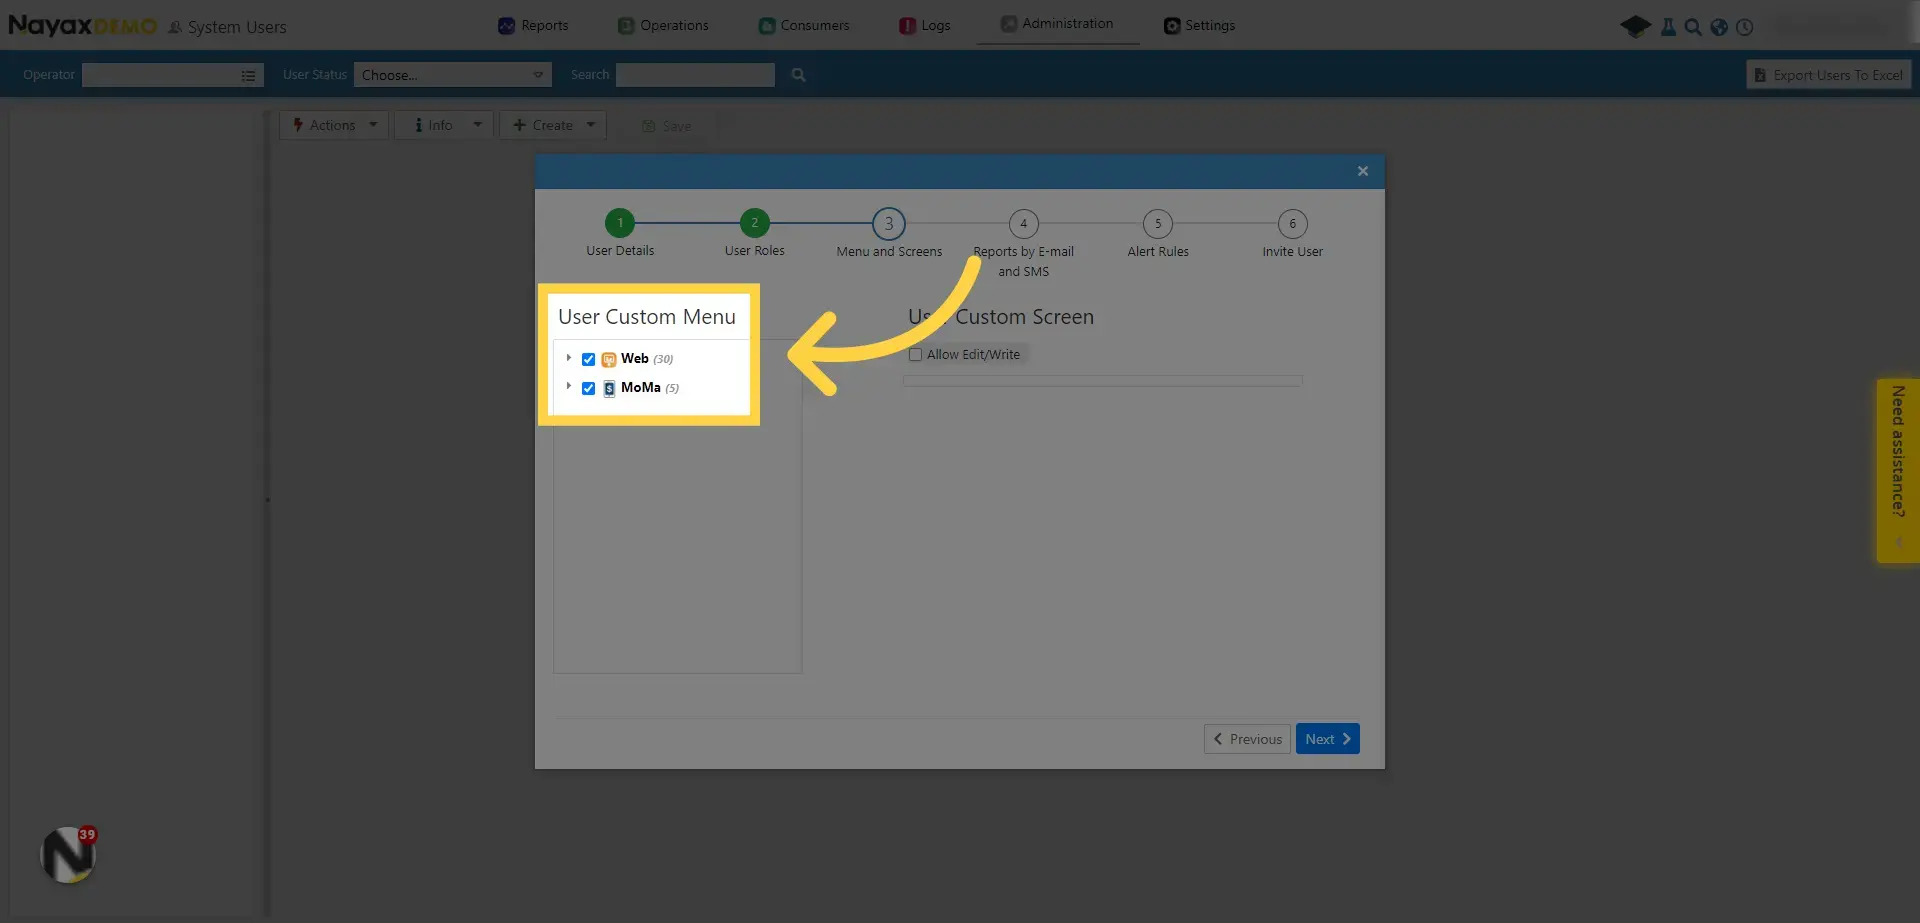
13. Tick Relevant screens
Image AttachedTick the relevant screens for the user.
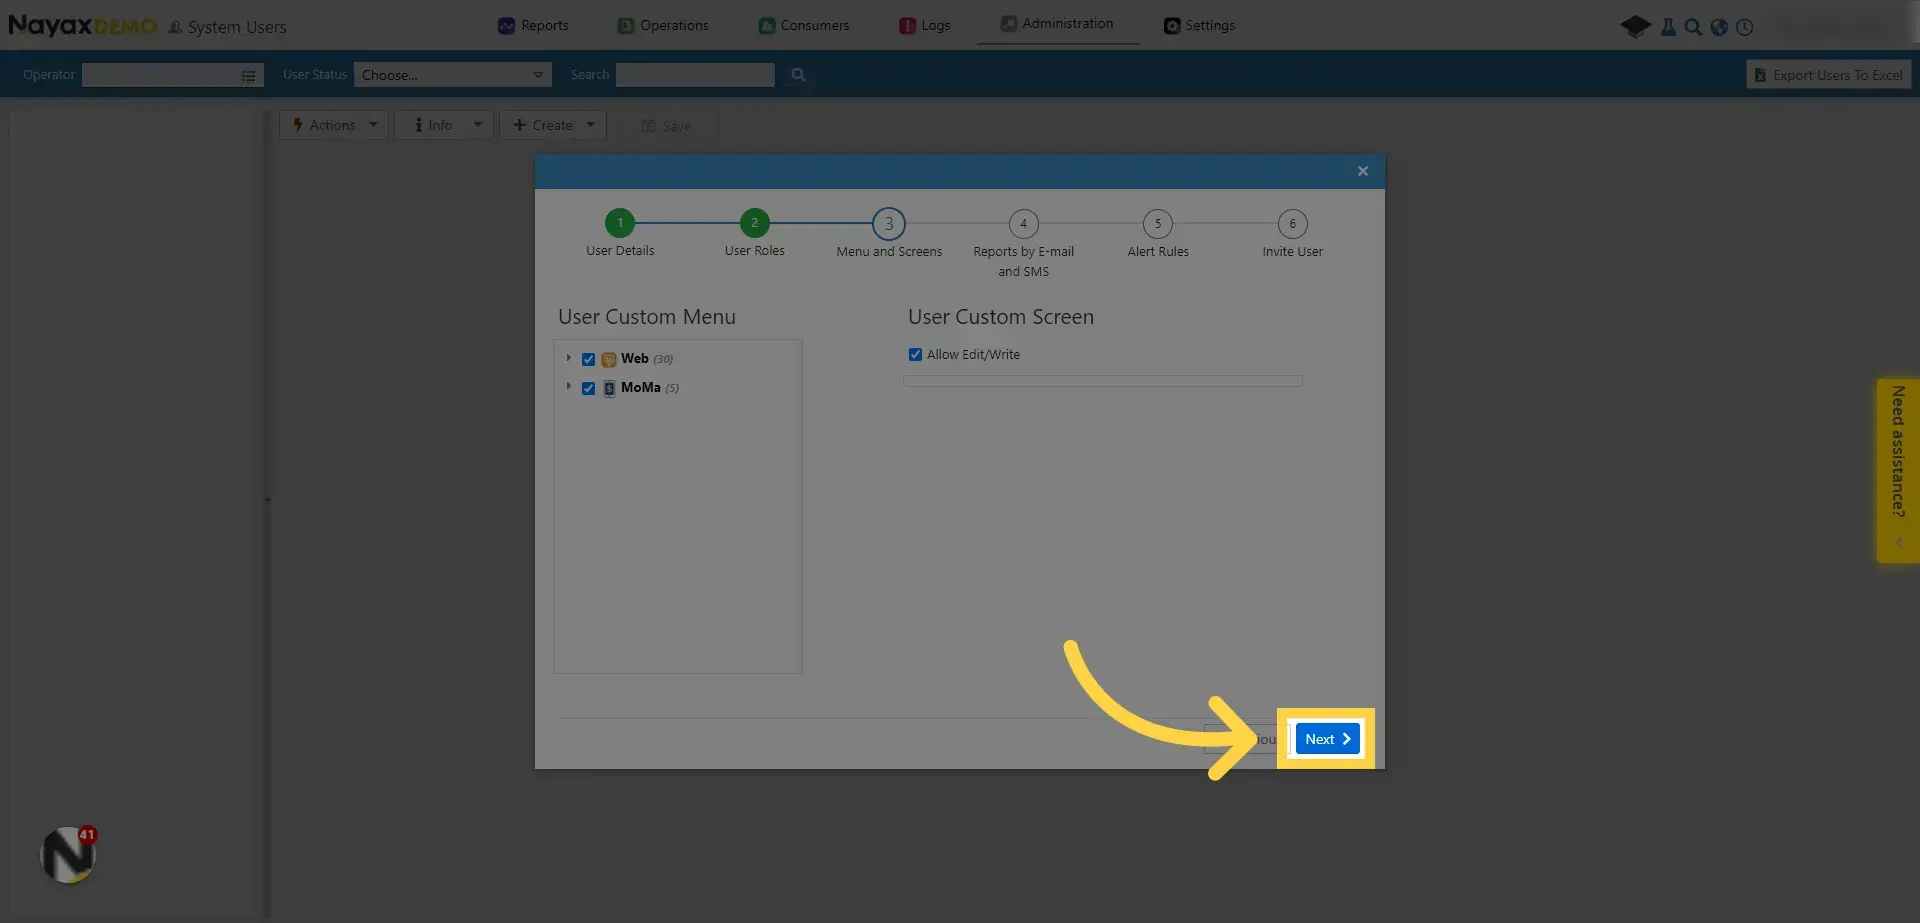
14. Click "Next"
Image AttachedClick on the "Next" button.
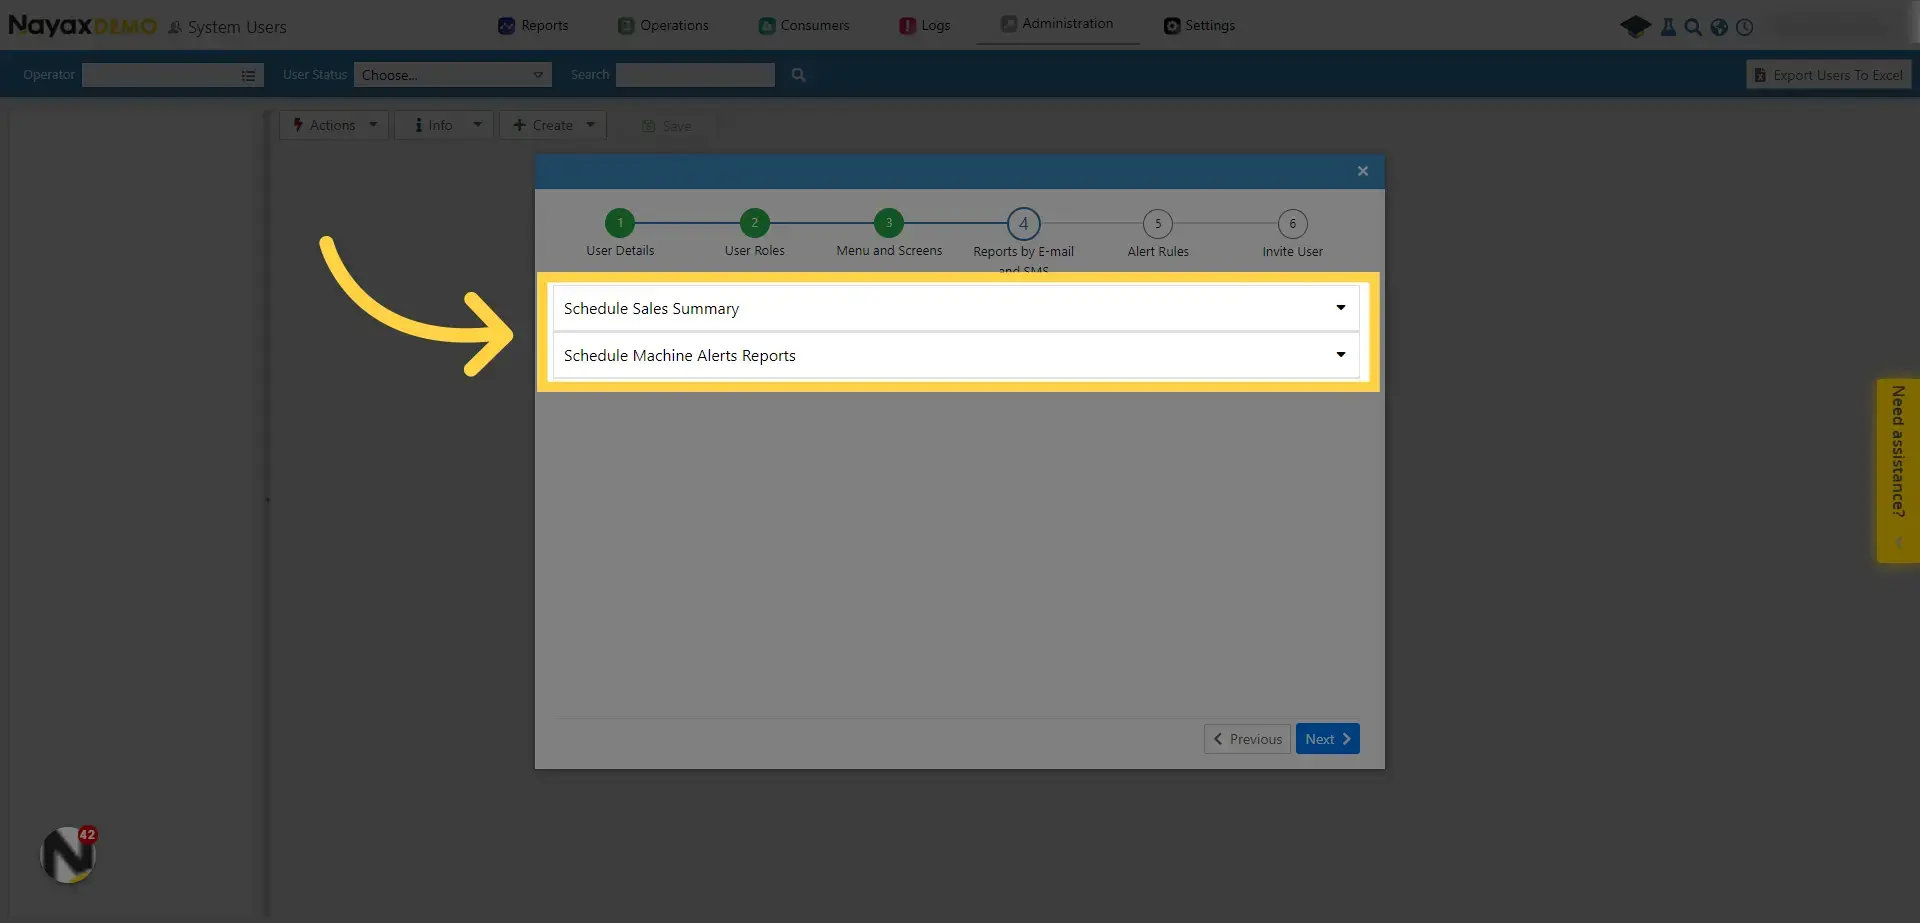
15. Set Reports
Image AttachedChoose how and when to send reports to the user.
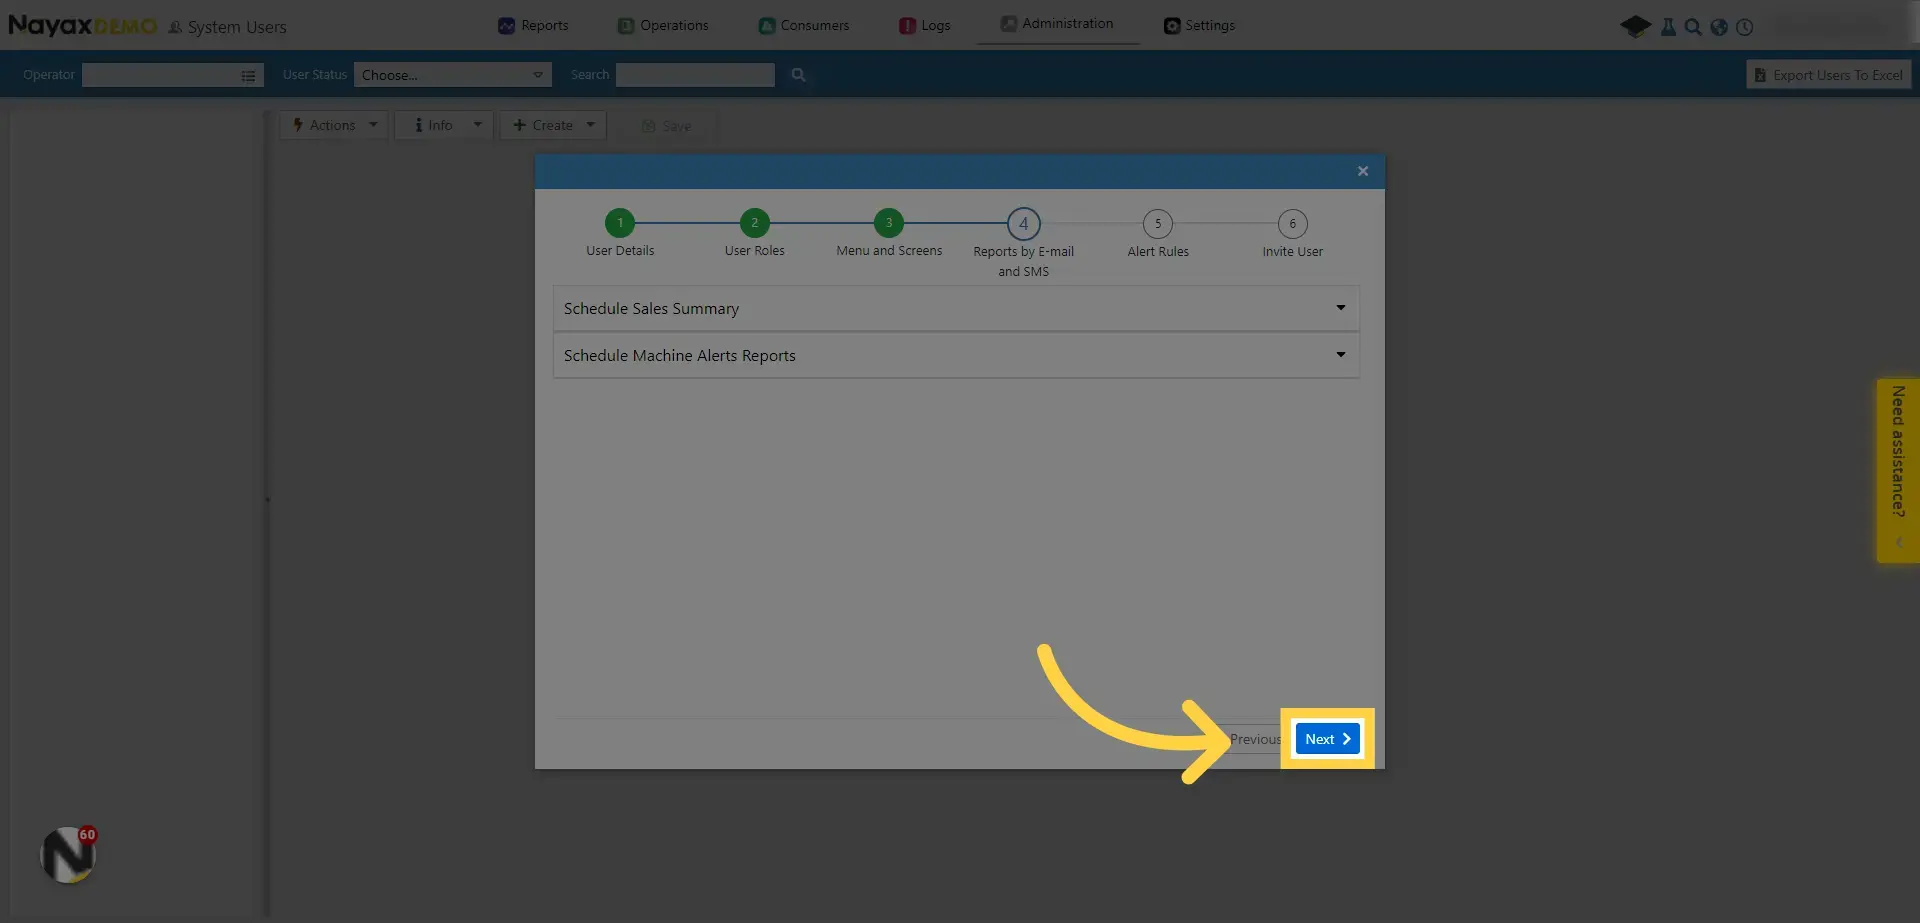
16. Click "Next"
Image AttachedClick on the "Next" button when you're finished.
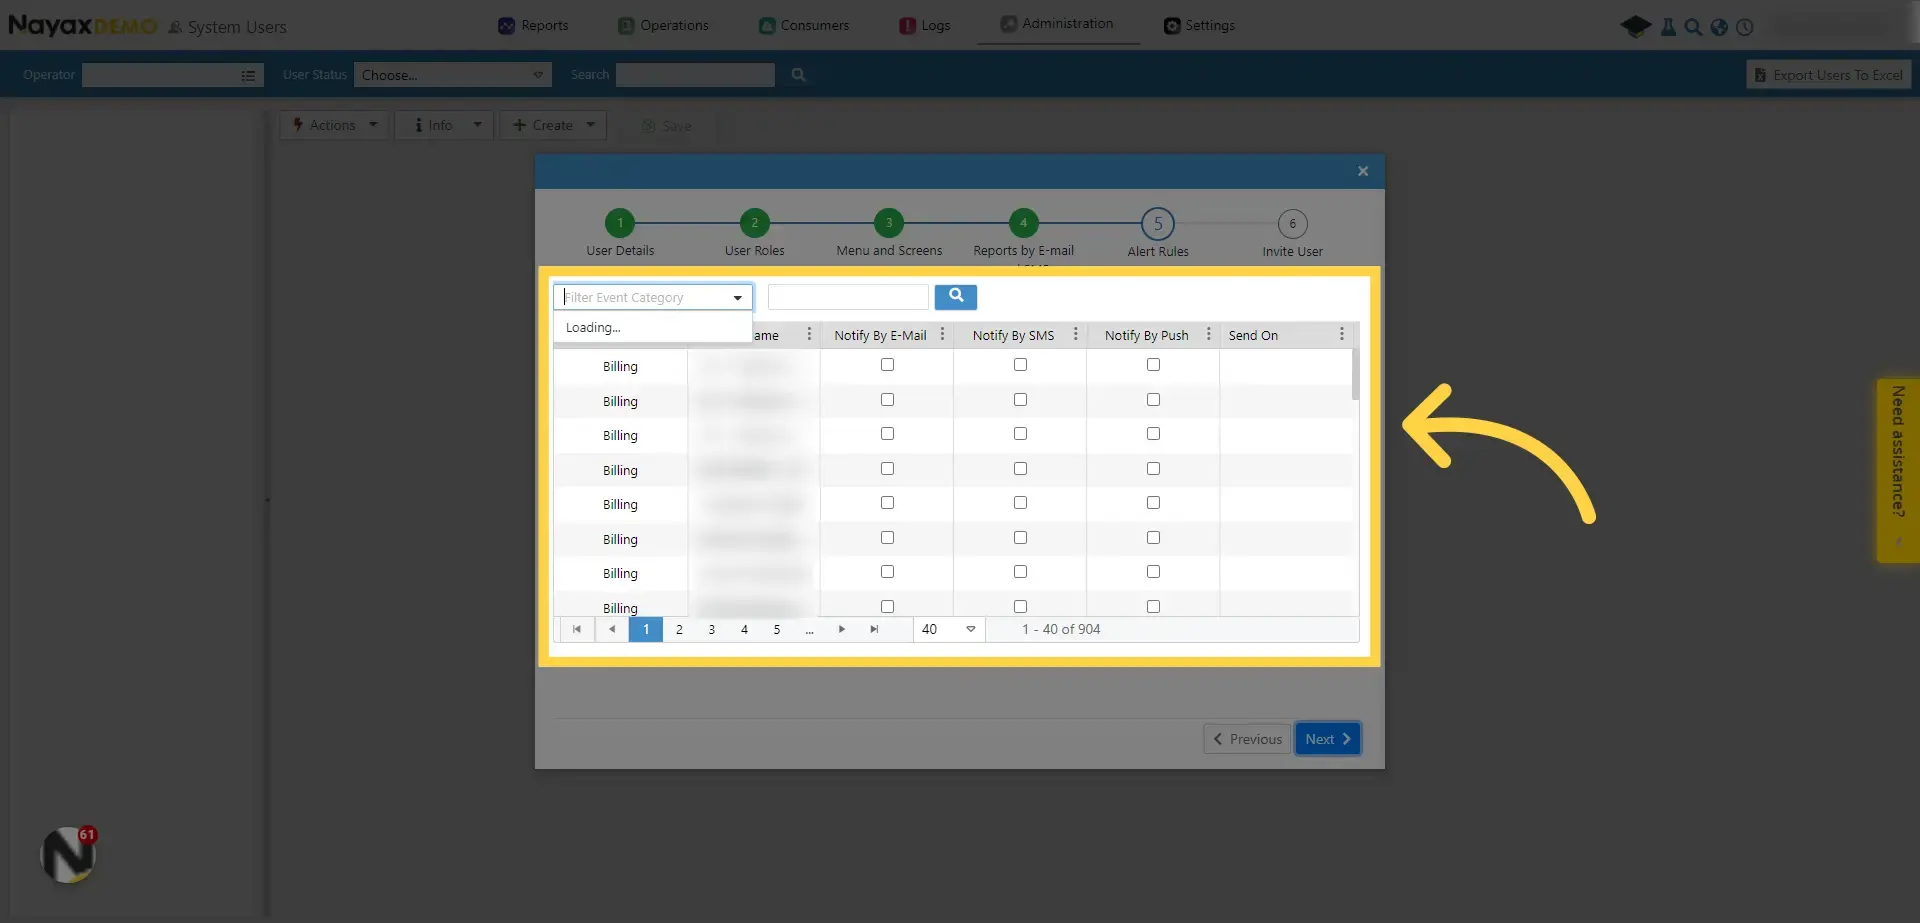
17. Set the Alert Rules
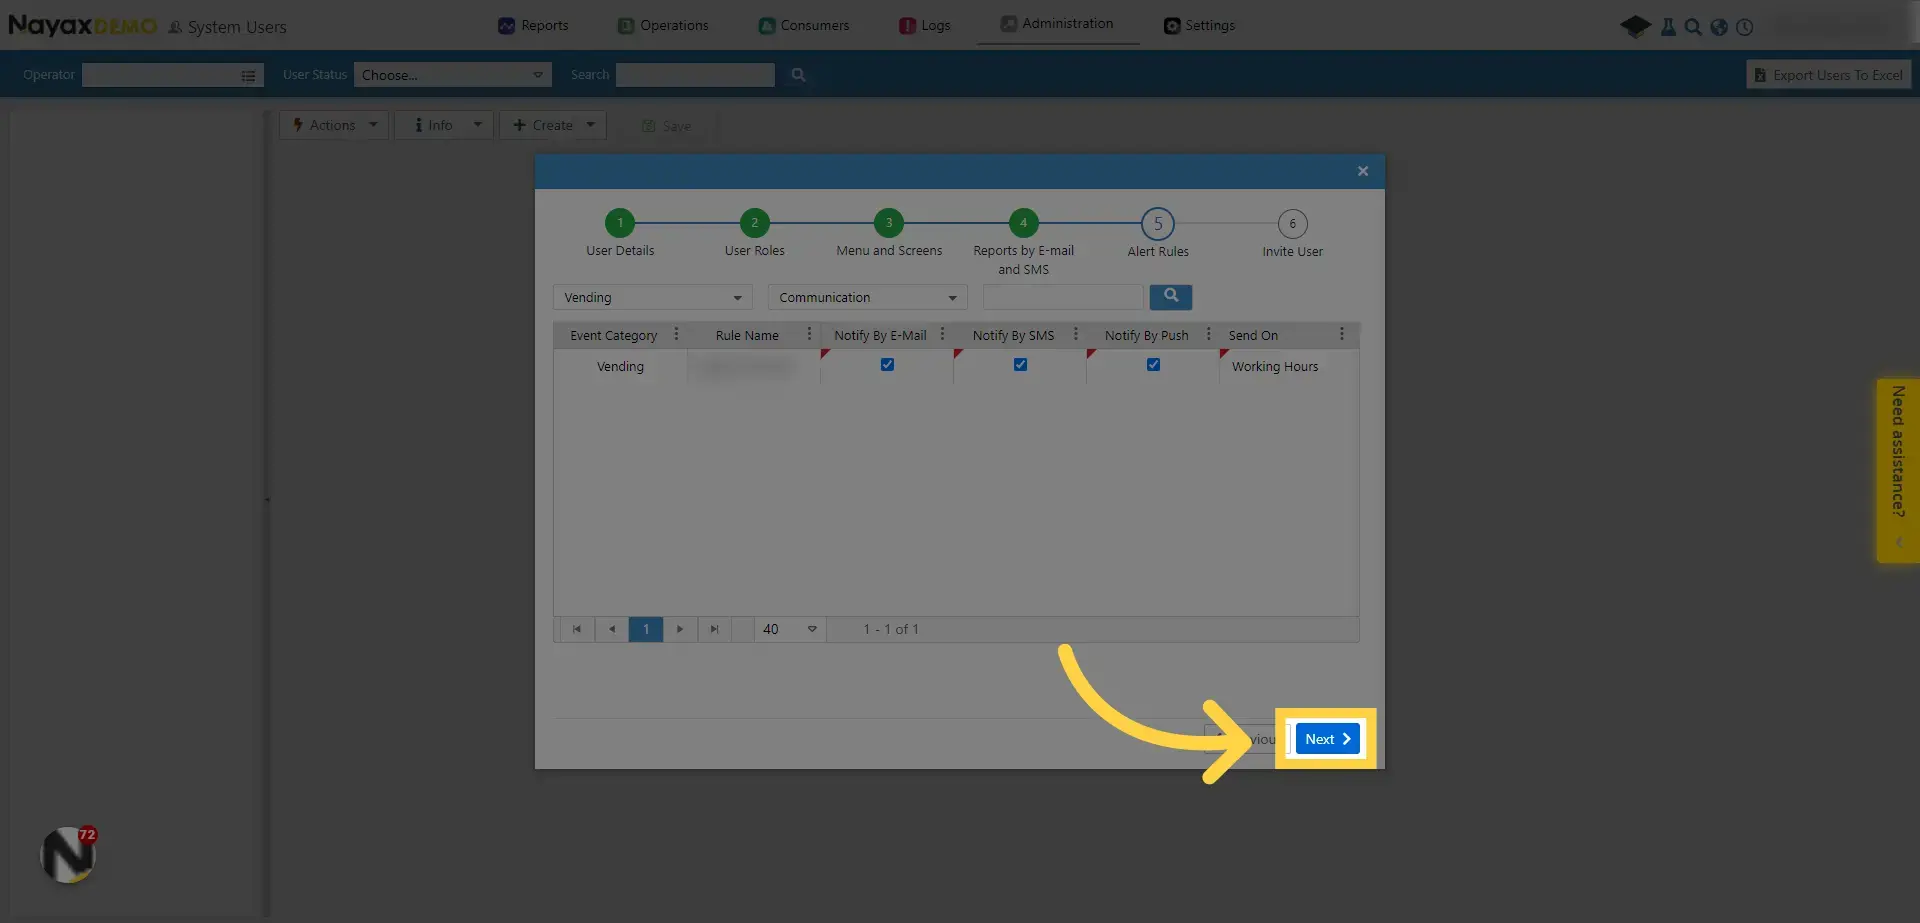
Image AttachedTick the relevant Alert Rules. The search can also be filtered.
In addition, you can choose how you want the alert delivered - by email, by SMS, by push on the MoMa app, or by all three.
18. Click "Next"
Image AttachedClick on the "Next" button.
19. Click "Invite"
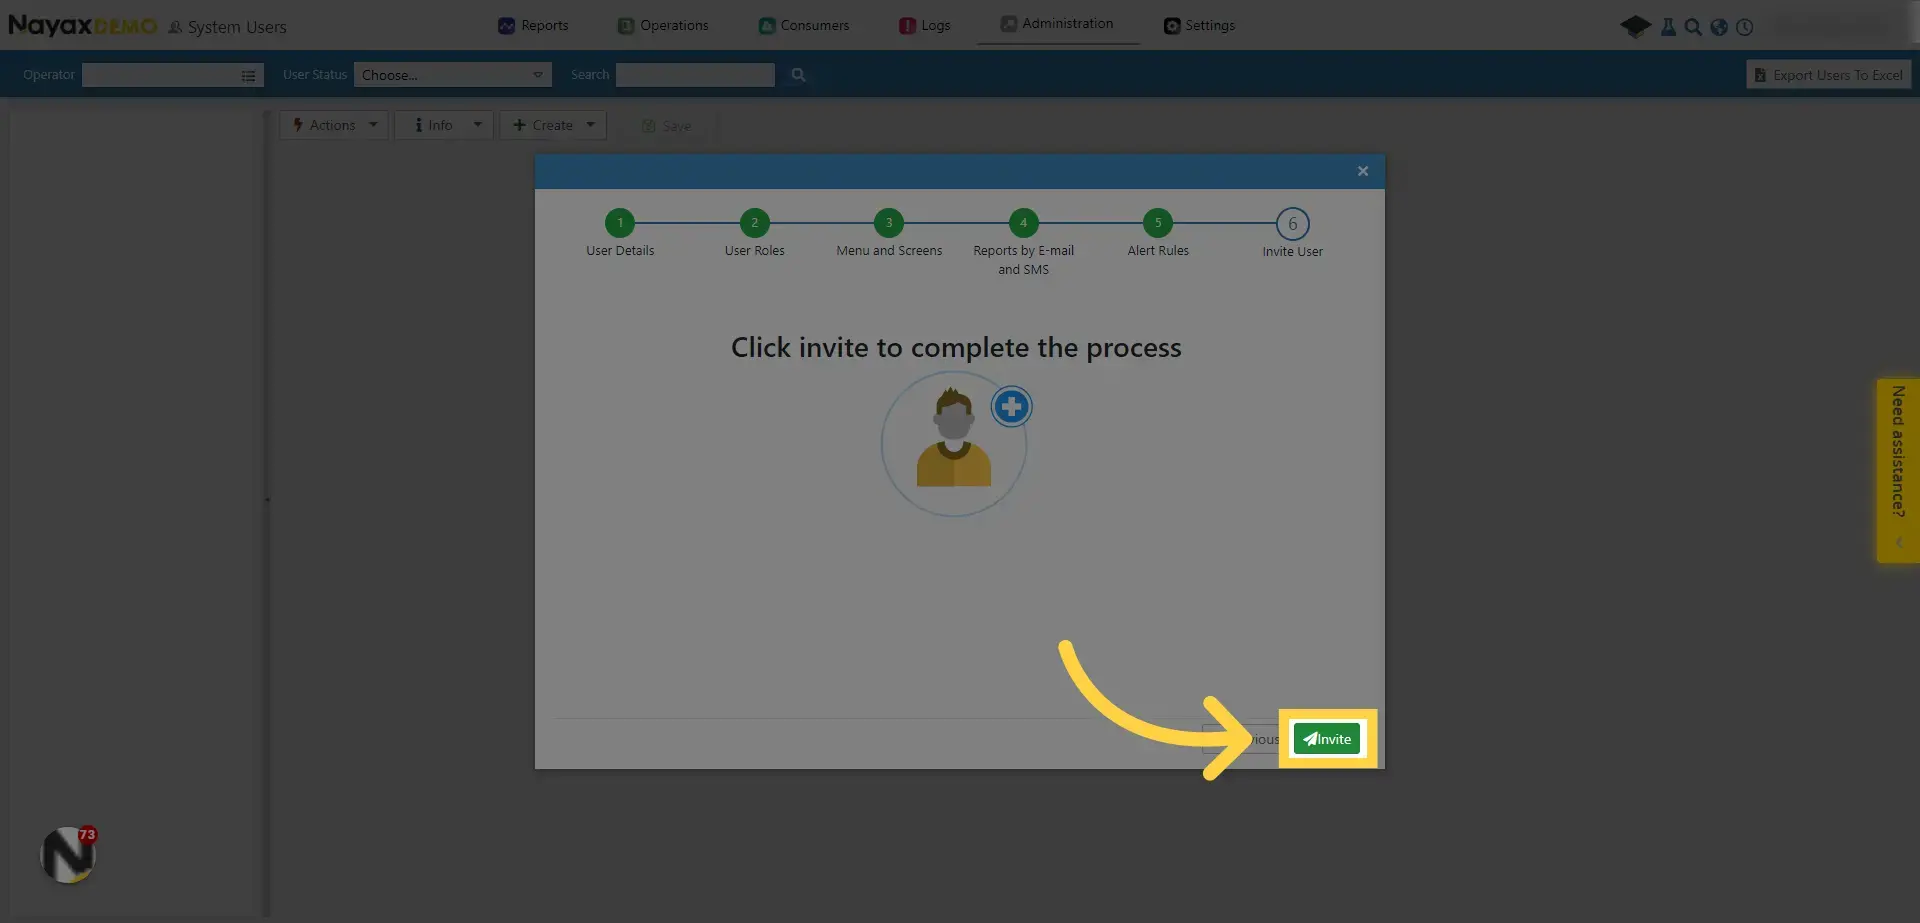
Image AttachedClick on the "Invite" button. Now you have a new user on Nayax Core.
Thank you!
Did you find this article helpful?